Andrew’s bikepacking gear top tips
Since I wrote about my Tour Aotearoa experiences last year, and linked to my gear lists, I’ve fielded a lot of different questions relating to my gear choices and experience with different items of equipment. As I said in the earlier article, there is a boatload of information out there in the forums and groups about specific items of gear and how they perform, so I’ve no intention of duplicating that, but I would like to talk more about a couple of common themes which I used to inform my choices, and particularly what I learned from doing multiple events using different setup. So here are my personal bikepacking gear top tips!
General Rules
Smaller beats lighter.
Don’t get me wrong - minimising your gear weight is a very worthy aim, not least because this will reduce the stress on your loaded bike as it bashes through the roughest parts of your adventure. And yes it will also reduce your time to climb all those hills, but when you start getting down to saving a few grams on a critical gear item, those savings become less and less important in relation to the extra dollars you spend.
Far more important, in my experience, is finding items which serve their purpose well but also pack really small and store easily. This makes your daily pack-up so much less stressful, and means you have more spare space in your bags for that second pizza! My favorite item in this category was one of the smallest Leatherman multitools you can buy. The quality of the materials used means it is quite heavy for its size, but it worked perfectly, it served multiple purposes, I used it almost every day, and it took no space at all to pack.
Get organised!
When you’re out on the bike for several weeks, it quickly becomes clear that when you’re not riding, eating or sleeping, you’re probably unpacking or packing your gear. I found it really important to make this task as simple and easy as possible, so it didn’t use up any mental or physical energy that I could be using on those other three critical tasks!
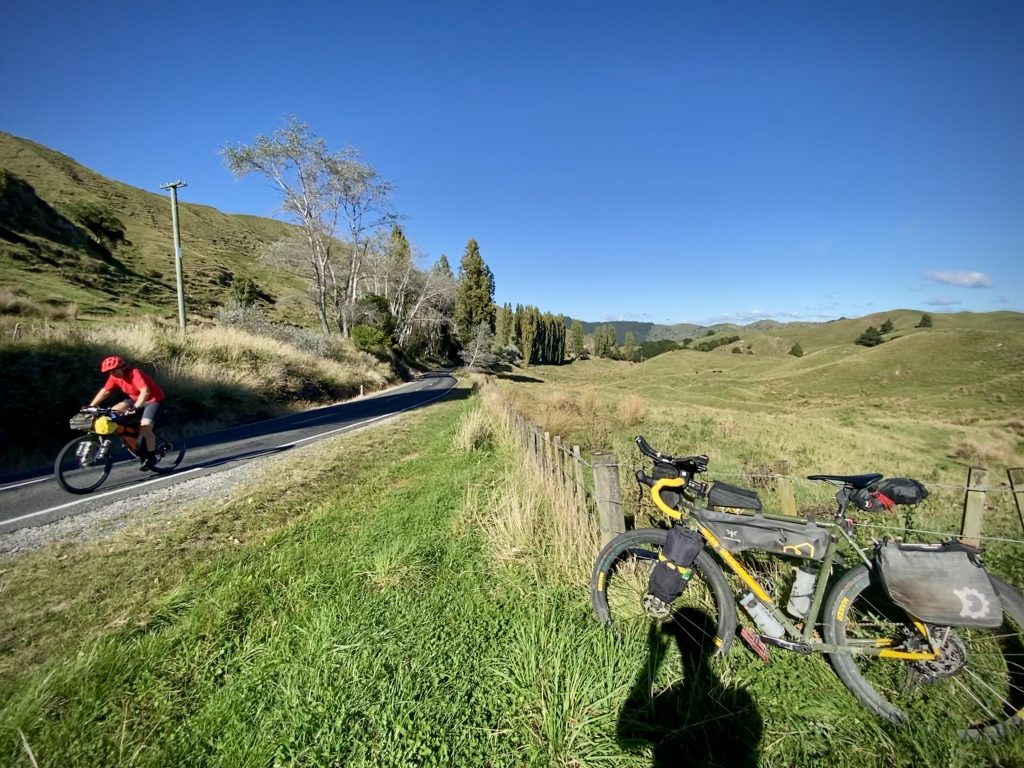
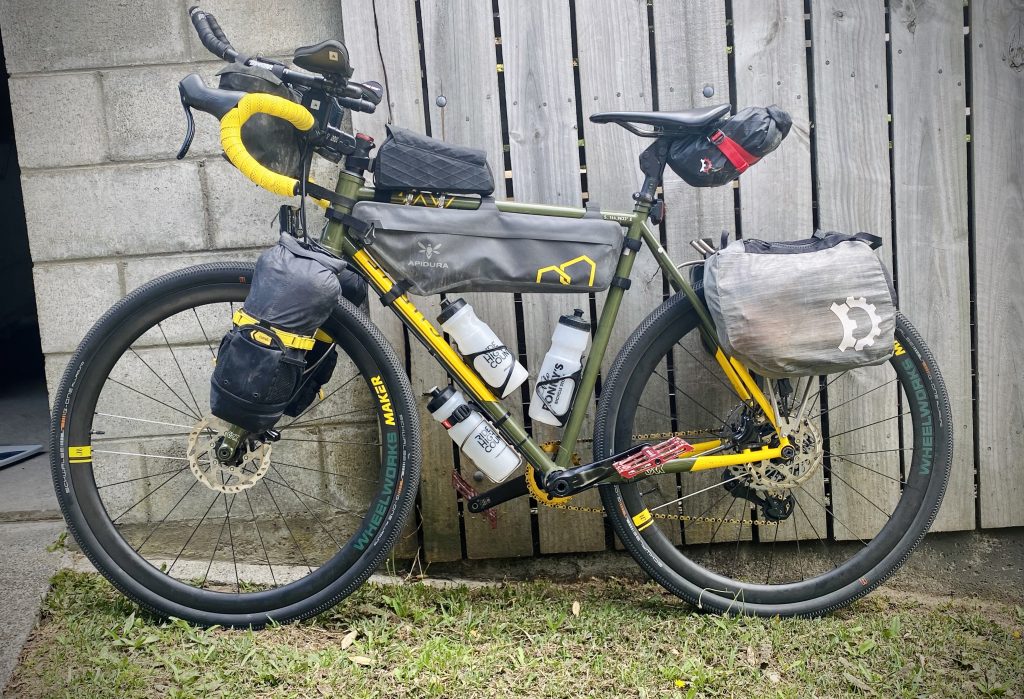
I’m a big fan of separate bags for separate roles, and for me that means more, smaller bags rather than one giant seat bag with everything stuffed into it. Those bags should then be able to be quickly and easily removed from the bike in the pouring rain, and brought to somewhere dry before you open them. And finally, I kept all the bags I used daily on one side of the bike, and the ones for infrequent use on the other side - meaning once the bike was leant against a wall I could get everything I needed quickly and easily.
Specifics
Is a rear rack cheating?
Probably the second most-asked question I hear, often by people starting out. Is “can I use a rear rack instead of a seat bag?" I have strong views on this one and they are probably at odds with a lot of seasoned bikepackers! The big swinging seat pack has become pretty much ubiquitous in images of bikepacking - indeed I’ve even heard it pronounced in forums that “if you have panniers then you’re cycle-touring, it’s not real bikepacking!”
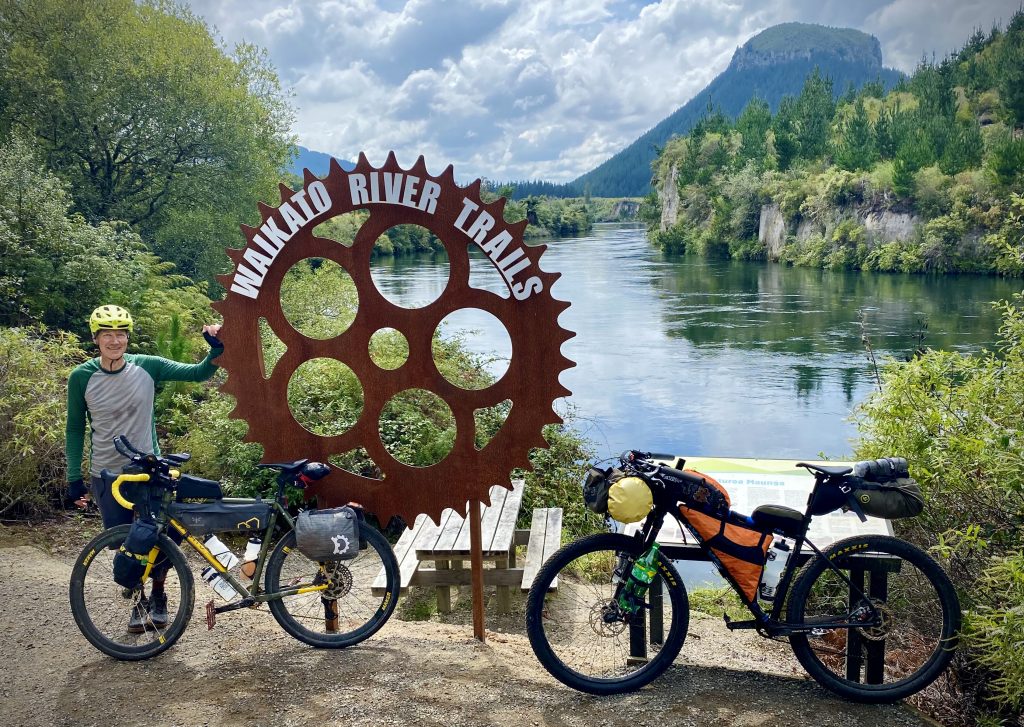
It’s worth remembering that seat bags have their origins in a couple of specific use-cases for bikes at opposite ends of the bikepacking spectrum: chunky mountain bikes and lightweight carbon aero road bikes. Neither of those types of frame are generally able to be fitted with a rear rack, so a bag suspended from the seat post under the saddle becomes a viable solution. However in the vast middle ground of gravel bikes and lighter hard-tail mountain bikes, a rear rack is generally both possible and, in my view, a great choice. I love my lightweight rear rack and Revelate Nanopanniers, they keep weight down low where it’s stable, they make it easy to separate gear and to get gear in and out while on the road, and the rack offers an easy expansion space for strapping extra provisions as and when required.
So if your bike will fit a rear rack, I encourage you to try it out. Forget the popular opinion and just test it against that golden rule - does this make my life easier and give me more mental energy to enjoy the ride!
To dynamo or not to dynamo?
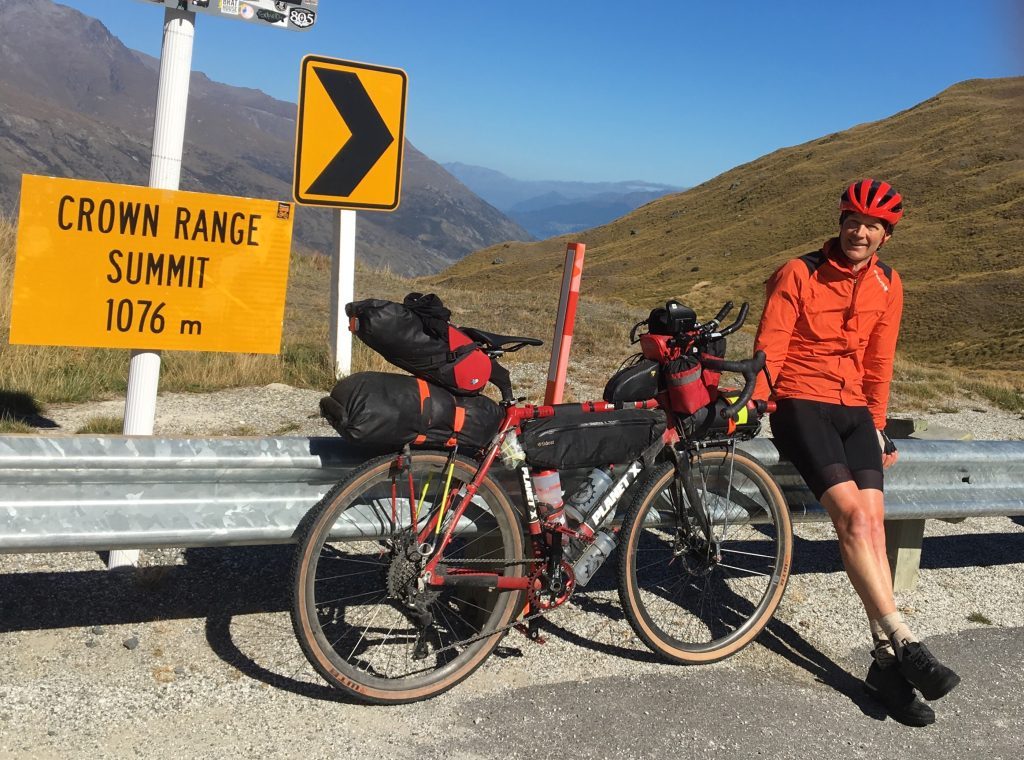
This is the question I get asked most often, and I have very specific experience since I have ridden the TA once with a dynamo hub and once without. For my first Tour in 2018 I had Wheelworks build a SON 28 dynamo hub into a Maker AR rim to match my AR wheelset, and it was a great success. It fits into that “Make it easy” rule I talked about - just get on the bike and ride, and let the dynamo hub do the thinking. I bought a power bank which could charge items while it was itself being charged (note: they don’t all do this), and a set of dynamo lights which included a USB port to charge the power bank. All I needed to do was plug my phone into the powerbank and I was all go. Lights just worked, things stayed charged, Andrew stayed relaxed (relatively - this was a tough first ride!). Compared to other dynamo hubs, the SON 28 range performs particularly well at low speed, which was really important while I was slowly picking my way up hills at 4am!
I rode my second TA without the dynamo hub, not because I hadn’t liked it, but because I wanted to run wider tyres and therefore switched to 27.5” Wheelworks Flite Trail wheels. Rather than rebuild or buy a new dynamo front wheel, I decided to buy an extra power bank and a wall plug which charged 4 items at once, and I was more diligent about keeping the power banks charged at camps / cafes/ wherever I could find power. Weight-wise there was little difference but it was a bit more admin! I bought a rechargeable rear light which operated while it was being charged (again, they don’t all do that) and plugged it into a power bank while riding, which relieved my range-anxiety!
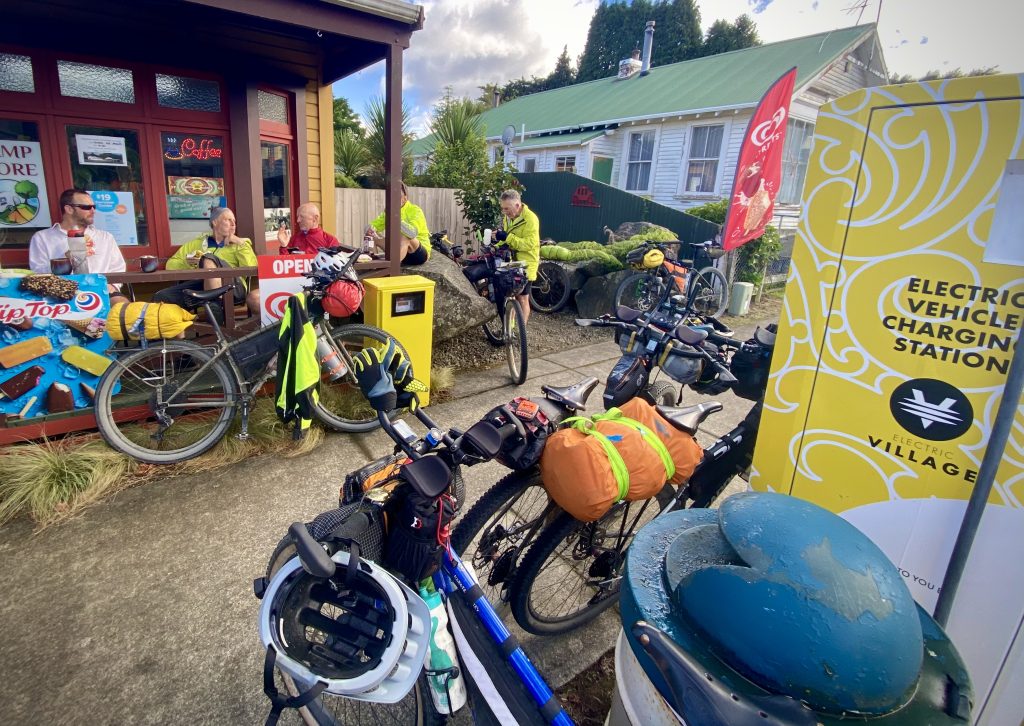
At the end of the day there’s no clear answer: you can survive happily without a dynamo hub if you’re happy to carry extra power banks with you and regularly be in contact with charging points, but a dynamo hub will allow you to travel stress-free long into the night and far into the wilderness!
So if you’re planning to ride a lot at night or early in the morning, or you’re planning to be away from civilization for days at a time, a SON 28 dynamo front wheel is a great option. We now have a specific SON Dynamo Front Wheel builder page where you can design your own and get an idea of cost.
Do you have any other questions about my gear choices and changes - drop me a note on sales@wheelworks.co.nz and I'm always happy to talk about bikepacking!
- Andrew
