Service Guide: Rear Hub Quick Service
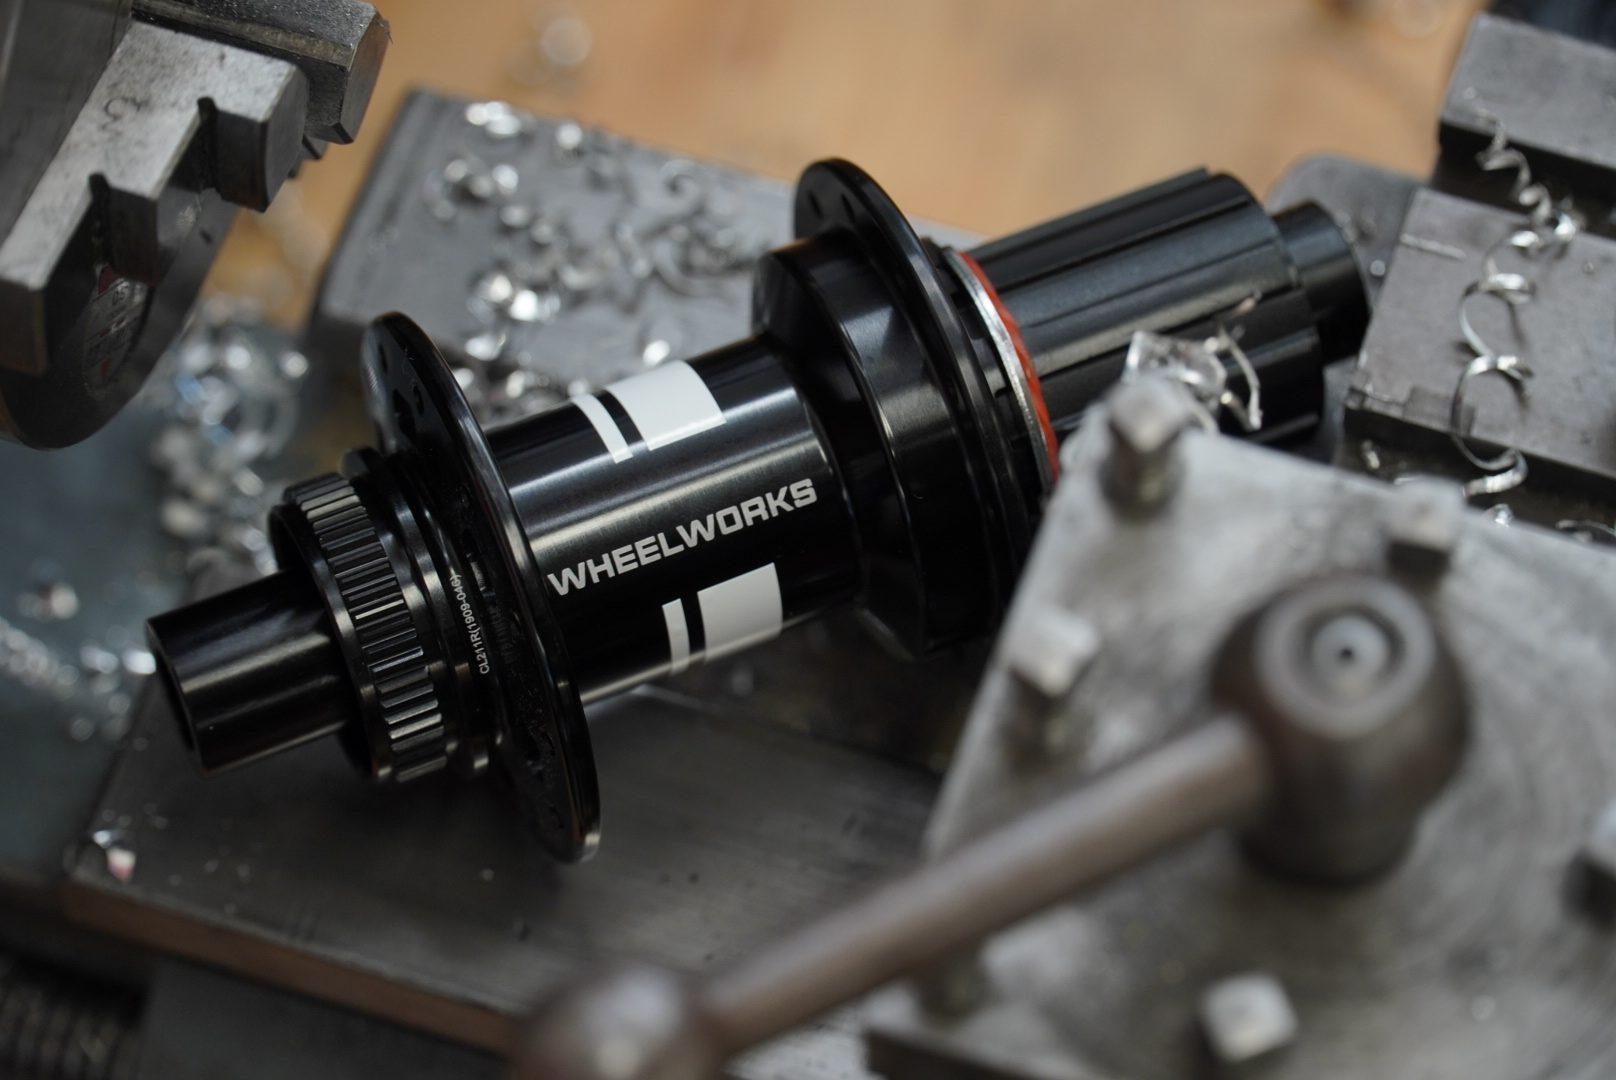
This guide will take you through the service of a Dial rear hub. We'll remove the freehub body, clean everything, inspect for damage, re-grease, re-assemble and test.
 Time Time | 10–20 minutes |
 Difficulty Difficulty | Easy |
 Frequency Frequency | Regular maintenance - more often on a mountain bike ridden in the rain than a road bike in dry conditions. |
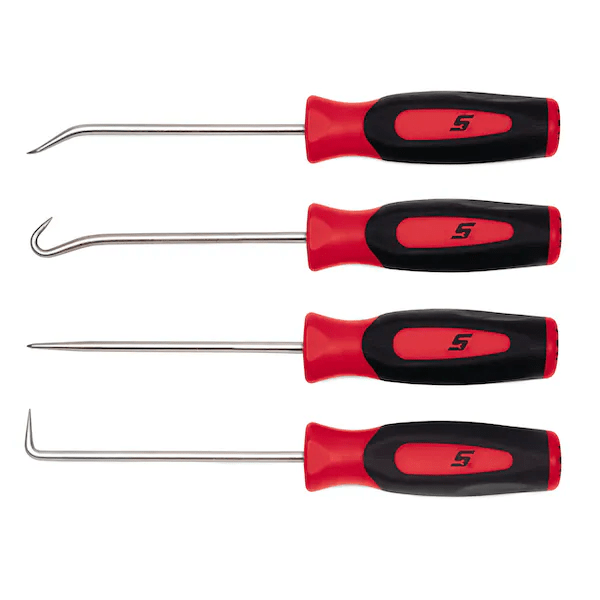
Tools needed
Step 1: Removing the Wheel from the Bike
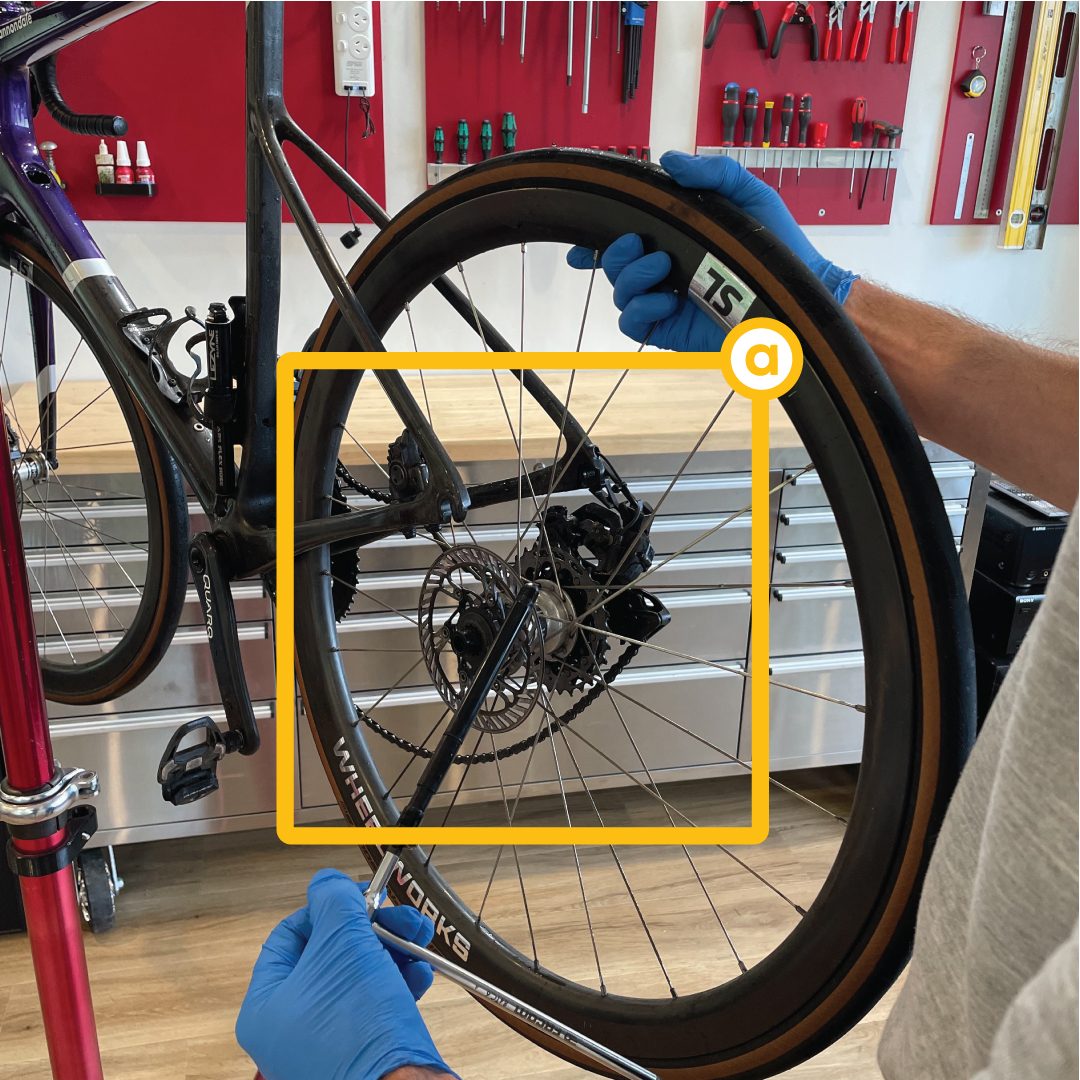
Follow the frame manufacturer's instructions for removing the thru-axle or quick release lever from your frame.
Step 2: Removing the Freehub Body
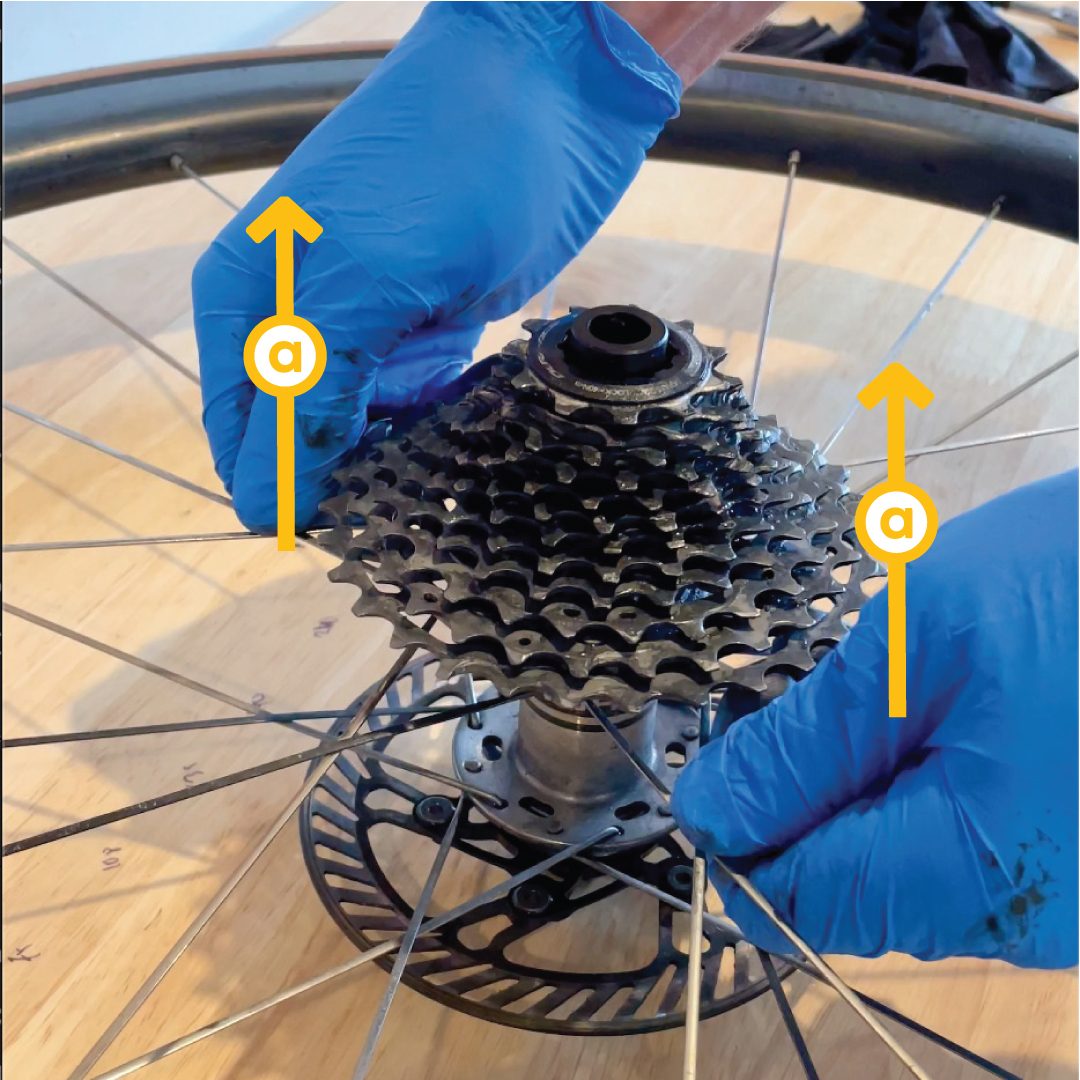
Use your fingers to gently pull the freehub body from the hub shell. There is no need to remove the cassette for this service.
Step 3: Removing the Axle
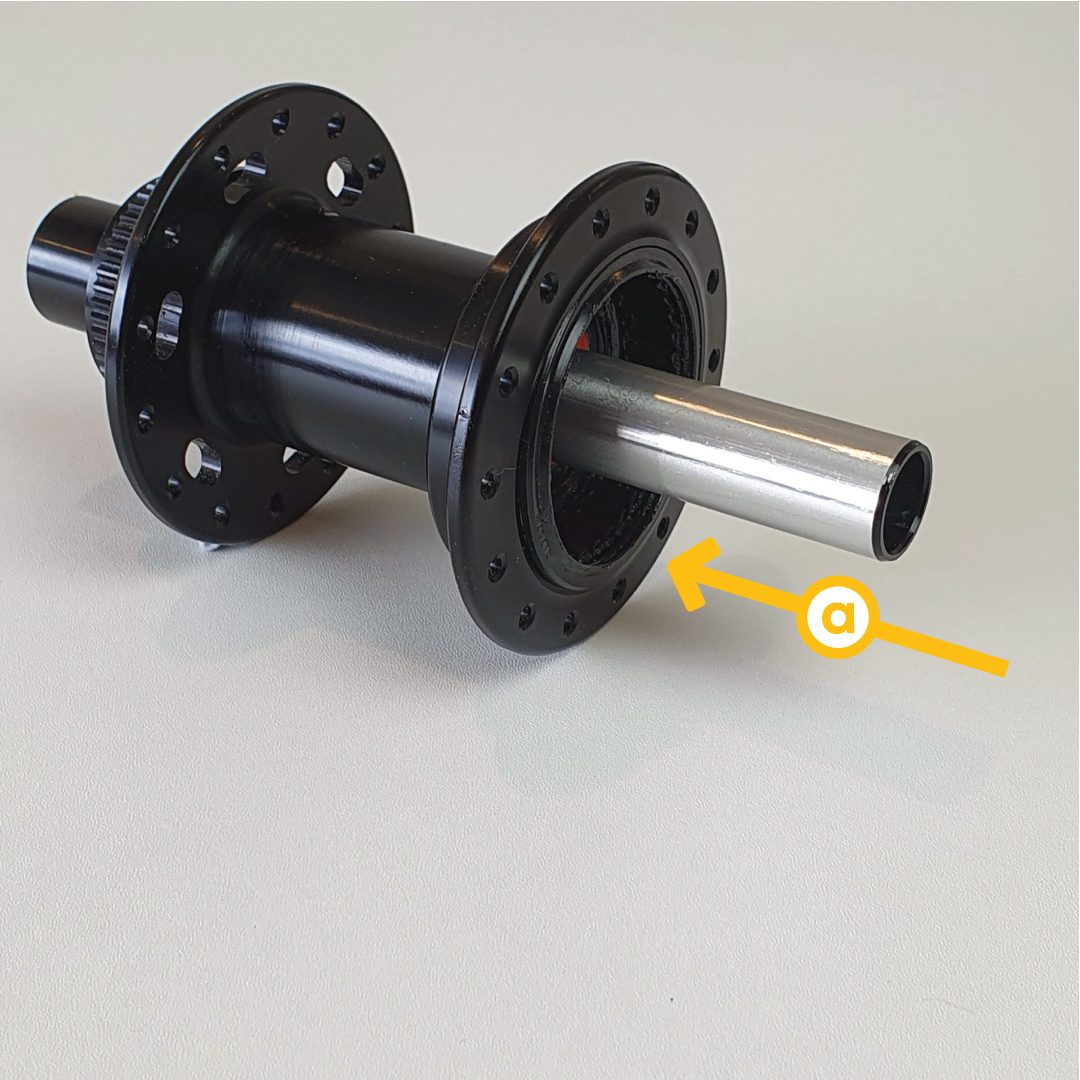
Press or pull the axle from the hub shell or freehub body. The axle should come out by hand without any tools, however if it's stubborn then gently tap the axle with a soft-faced hammer.
Step 4: Cleaning and Inspecting the Hub Shell
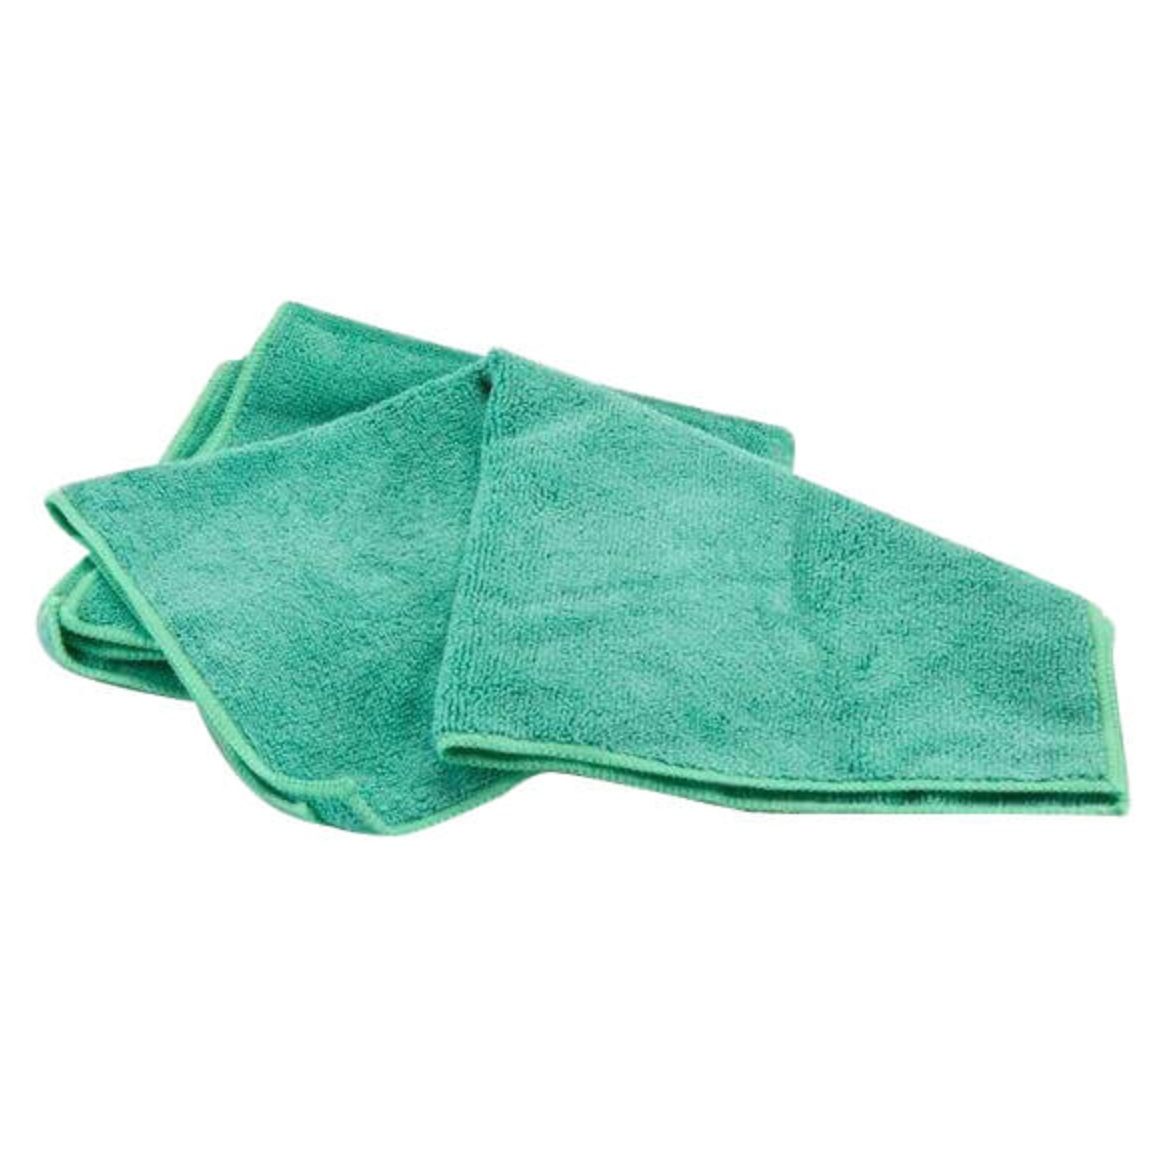
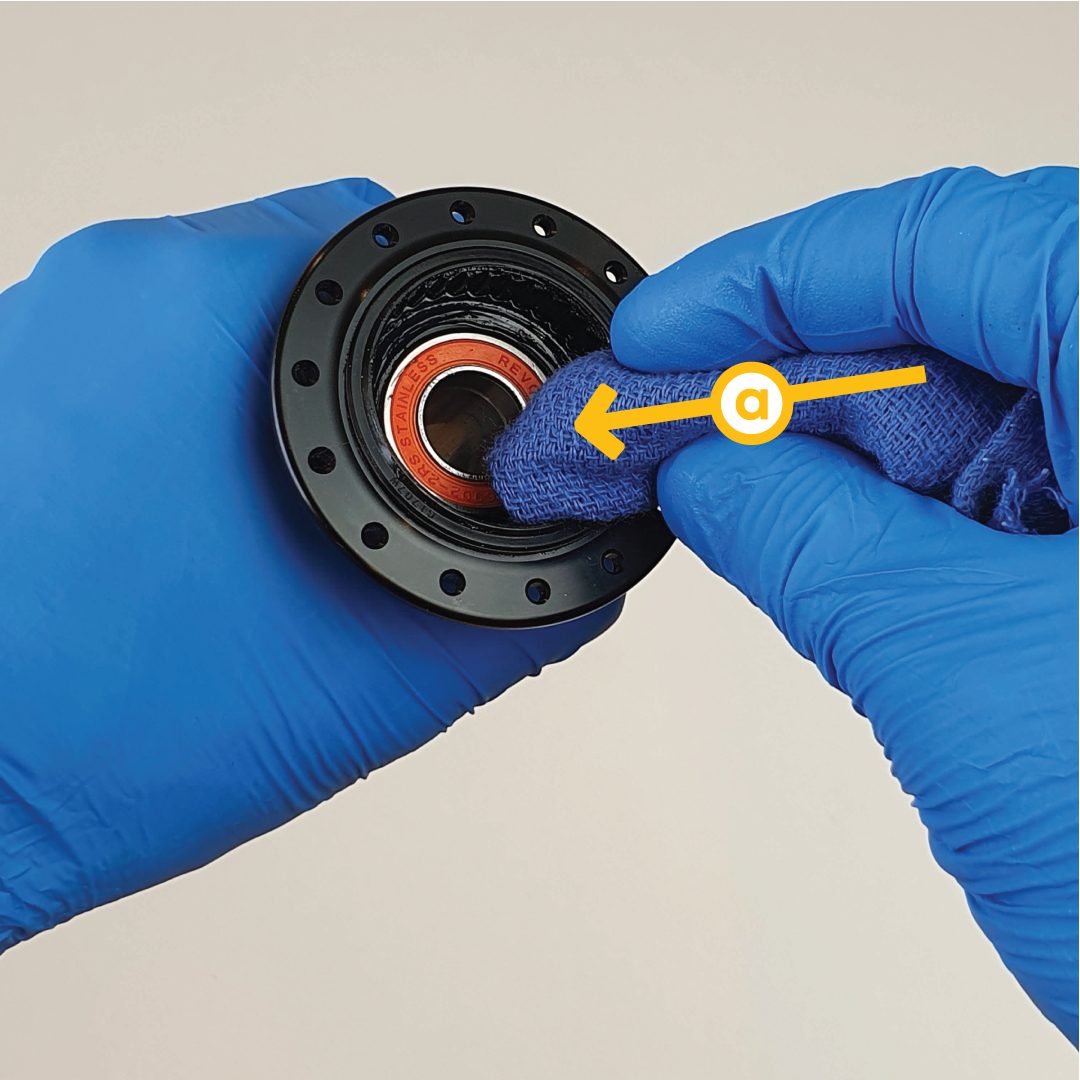
Use a clean rag to clean the hub shell. Inspect the hub shell for any damage. Scratching around the bearing is fine and won't cause any issues. Cracks or damage to the ratchet ring are extremely rare but will require replacement of the hub shell.
Step 5: Removing the Freehub Body Seal
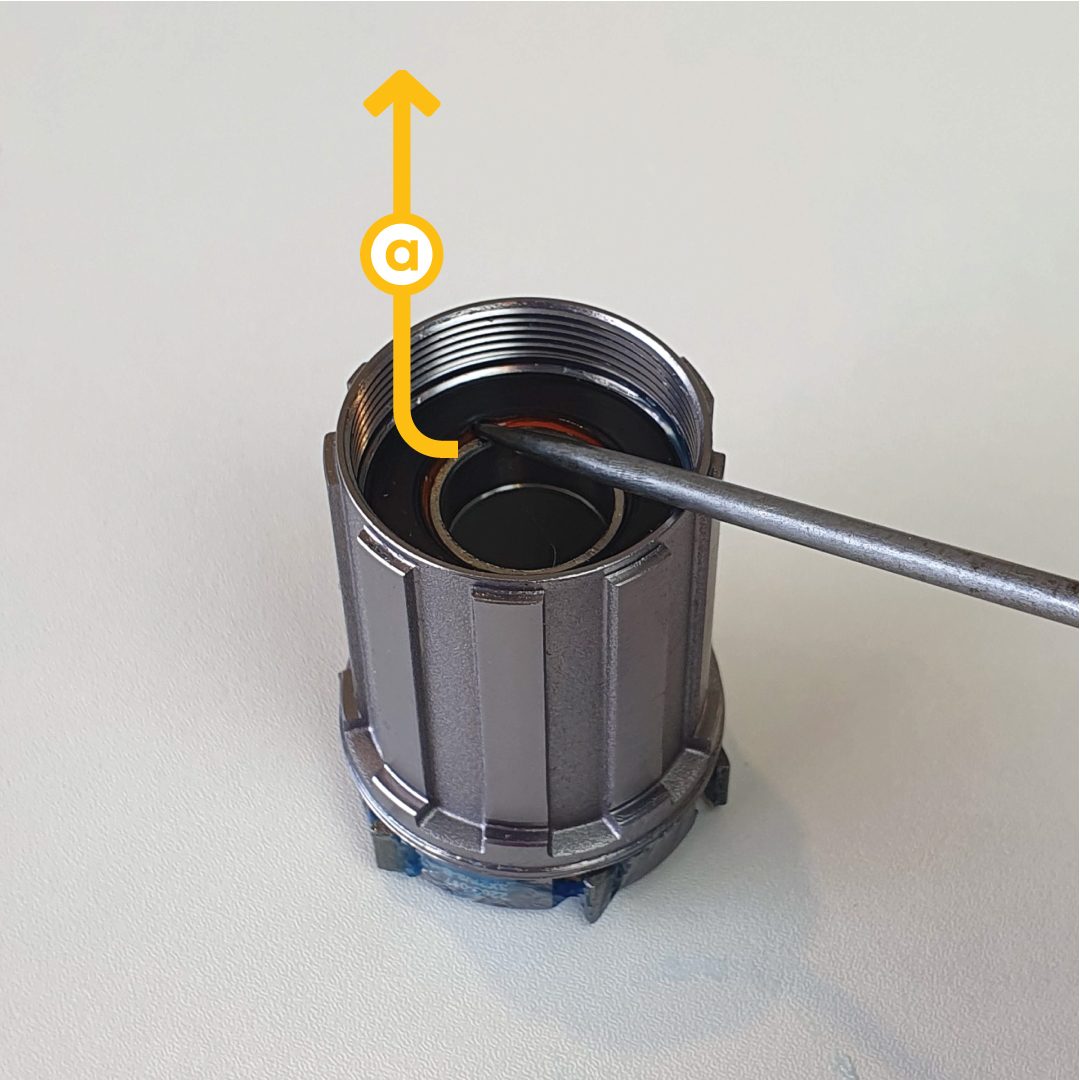
Remove the freehub body seal by carefully getting under it with a pick. It should pop off without any damage. Inspect the seal for bending or damage, and inspect the inside for wear (the rubber will be rough rather than smooth - this seal lasts well and generally doesn't need replacing).
Step 6: Cleaning the Freehub Body
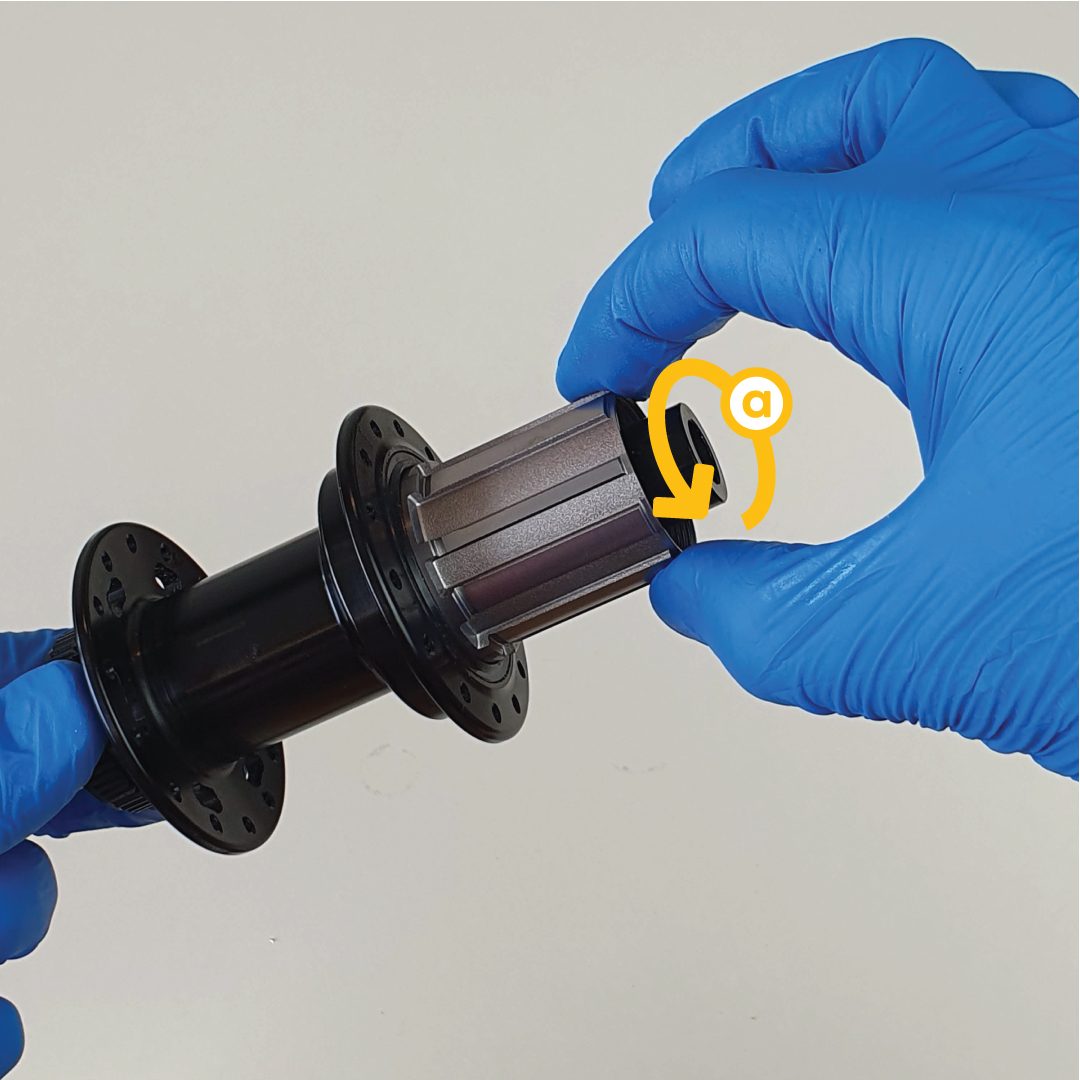
Use a clean rag to wipe the freehub body pawls. Rotate the freehub body counter-clockwise inside the rag to remove the bulk of the grime. This is generally all that's needed for general service. If you're hearing a creaking sound while pedalling, remove and clean the individual pawls (see next step).
Step 7: Removing the Freehub Body Pawls (optional)
Remove the white retainer, remove the pawls and springs, clean the pawl pockets, inspect them for ovalisation (some is ok, too much will cause issues), clean the pawls and springs, then reassemble and reinstall the white retainer.
Step 8: Inspecting the Freehub Body
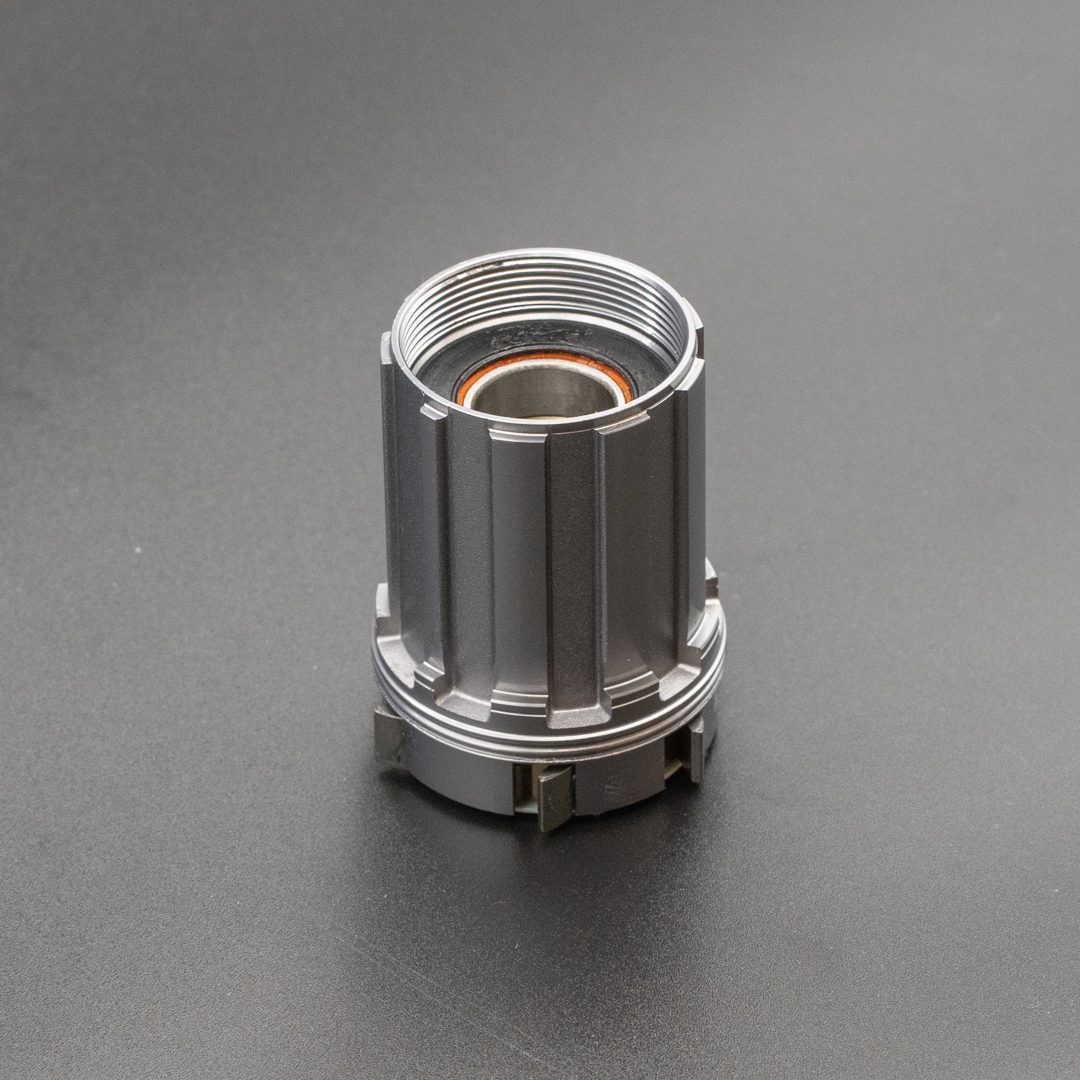
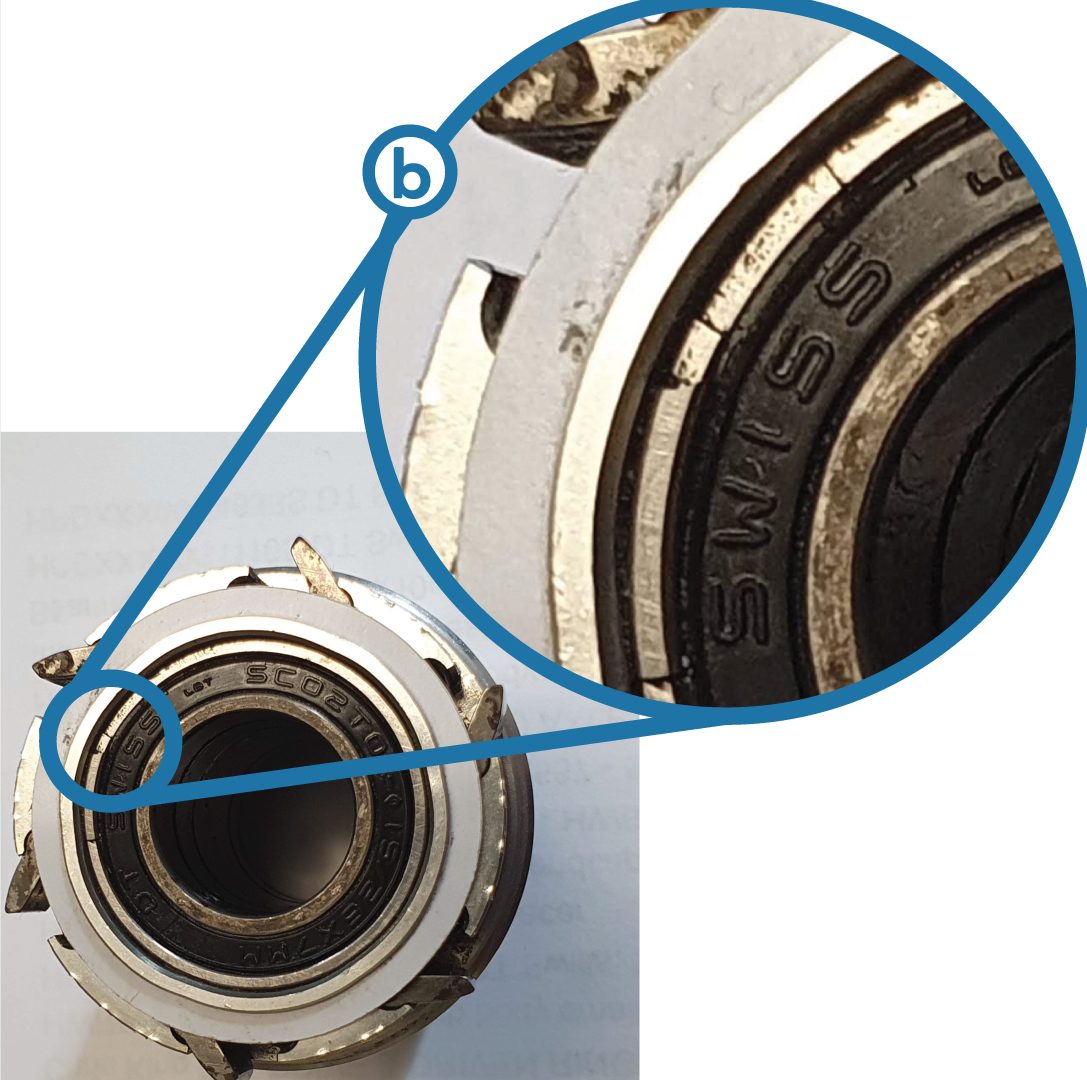
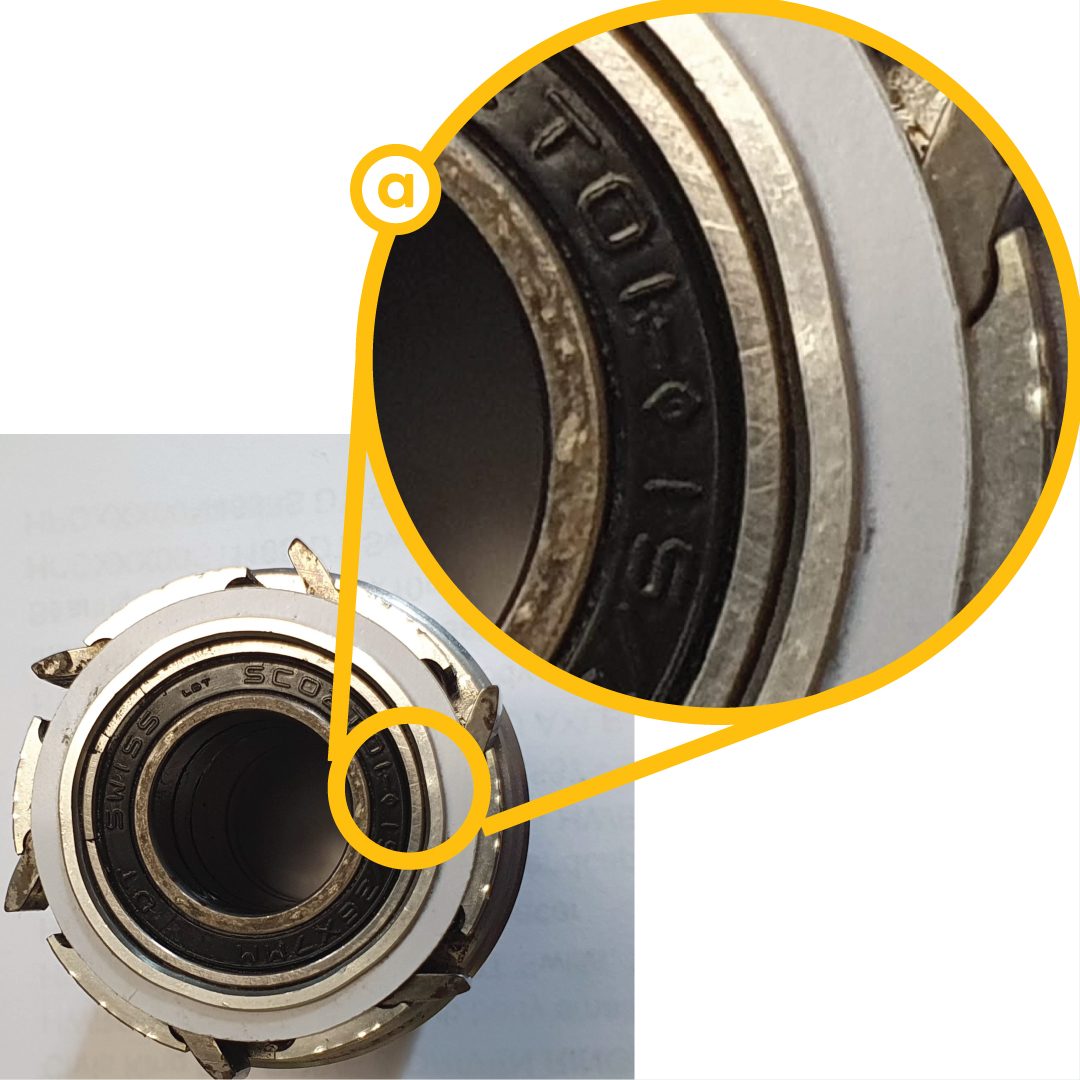
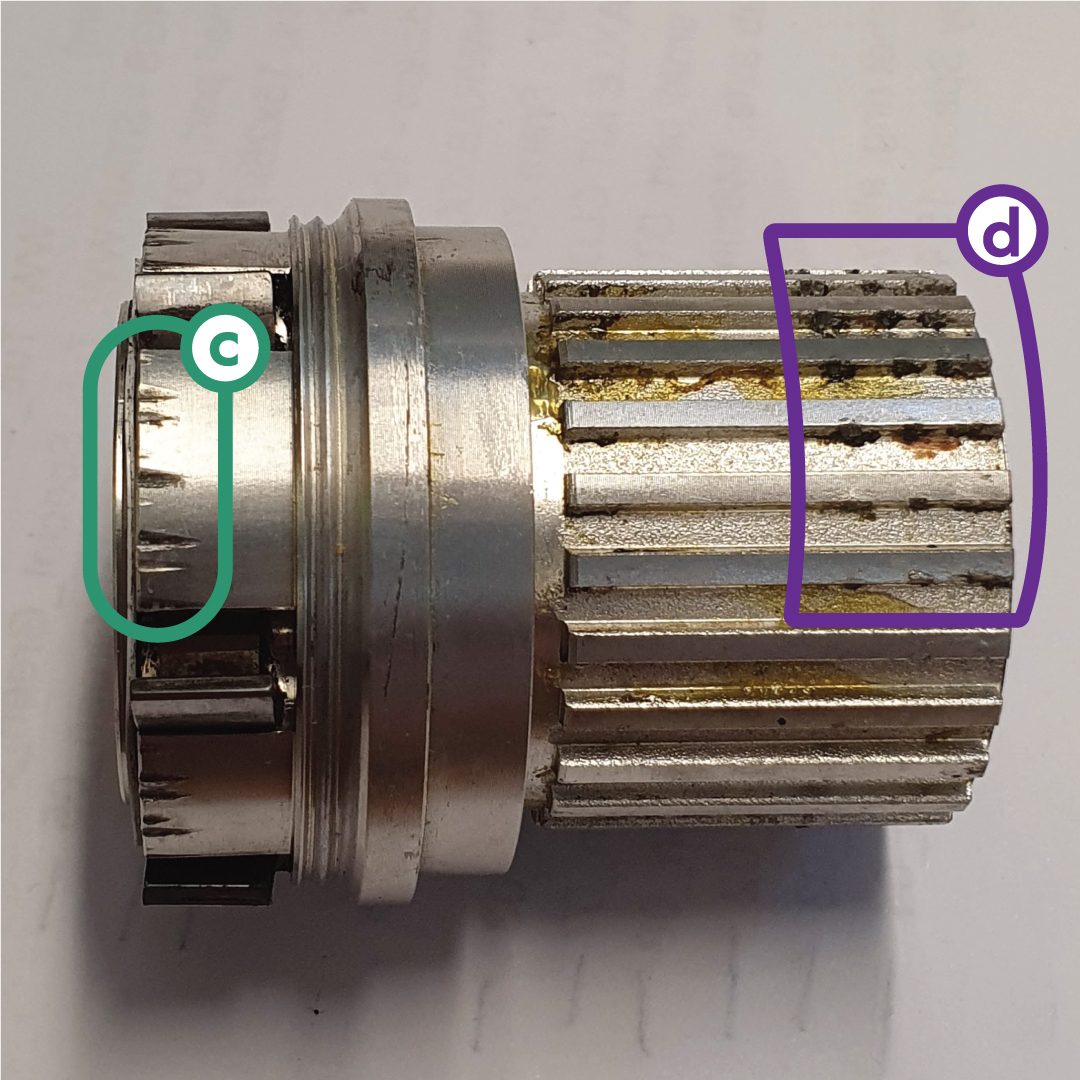
Inspect the bearing circumference for flat-spots or cracks - caused by the pawls being driven into the freehub body when the axle flexes from a hard landing. Replace the freehub body if you see flat-spotting. Damage between the pawls is also caused by hard impacts but is nothing to worry about. If you removed the cassette, small ridges on the splines (especially on Shimano HG and Microspline) are also nothing to worry about.
Step 9: Inspecting the Weather Shield
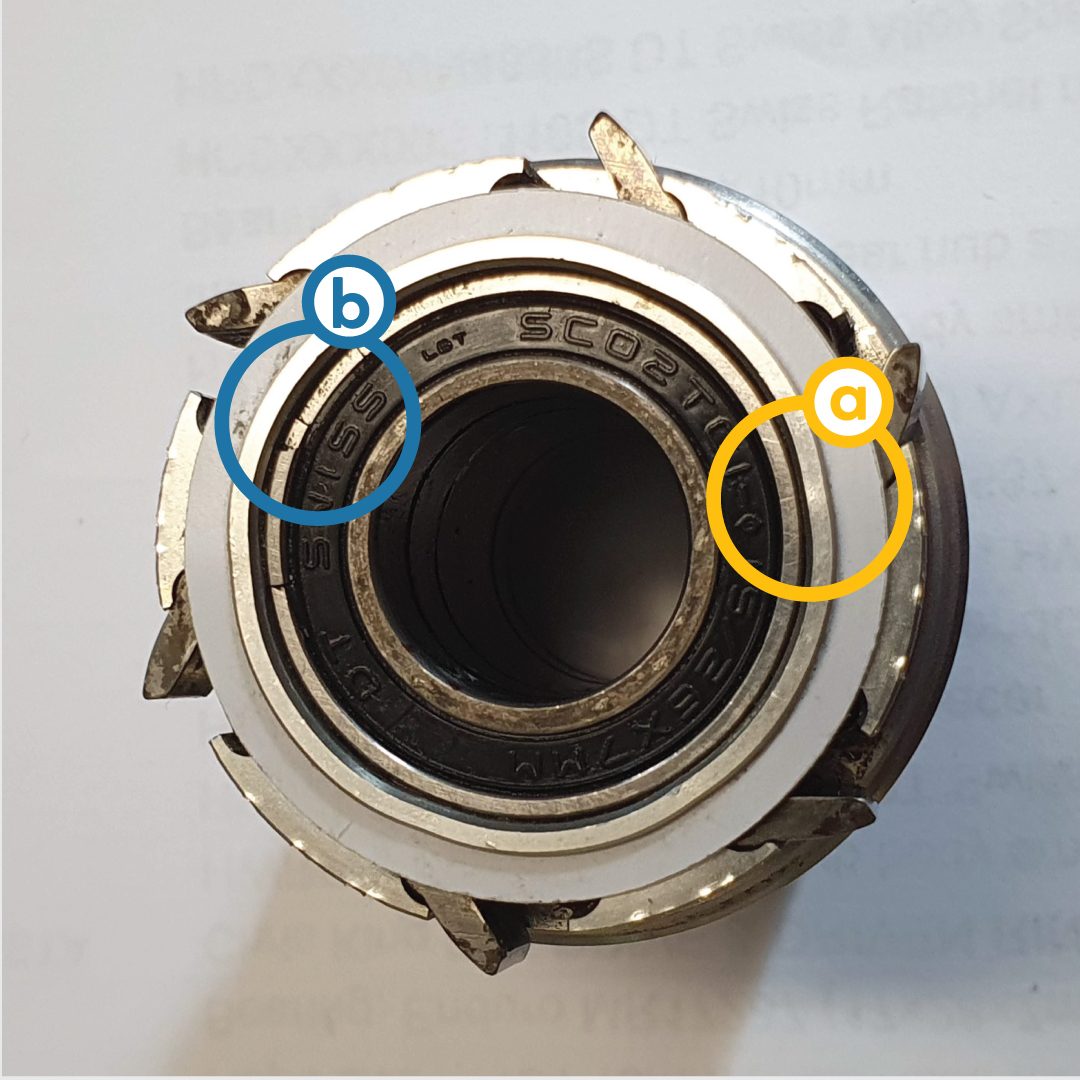
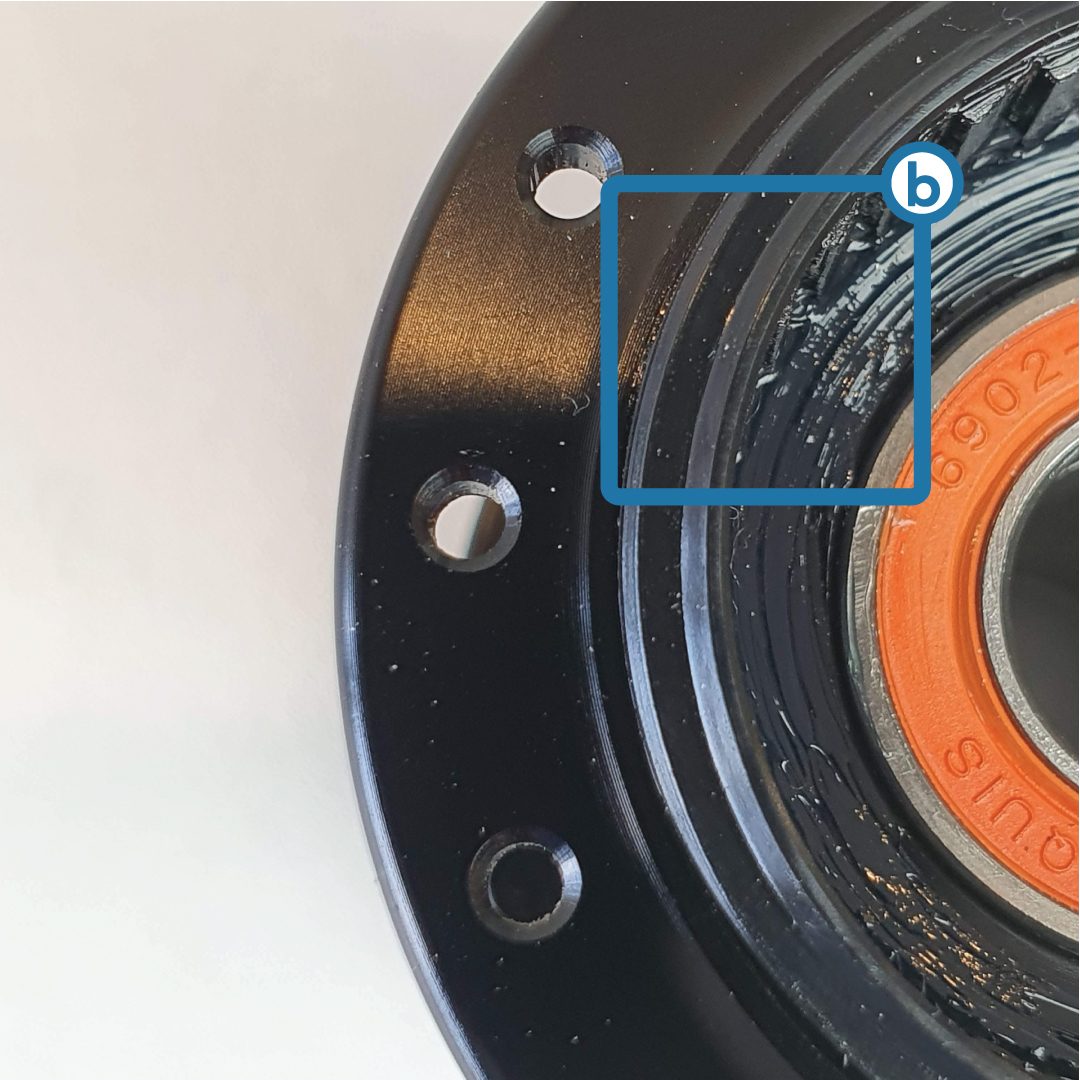
Inspect the weather shield for bending or damage, and inspect the inside sealing surface for wear (the rubber should be smooth rather than rough, serrated, or cracked). There's no need to remove it at this stage.
Step 10: Replacing the Weather Shield (optional)
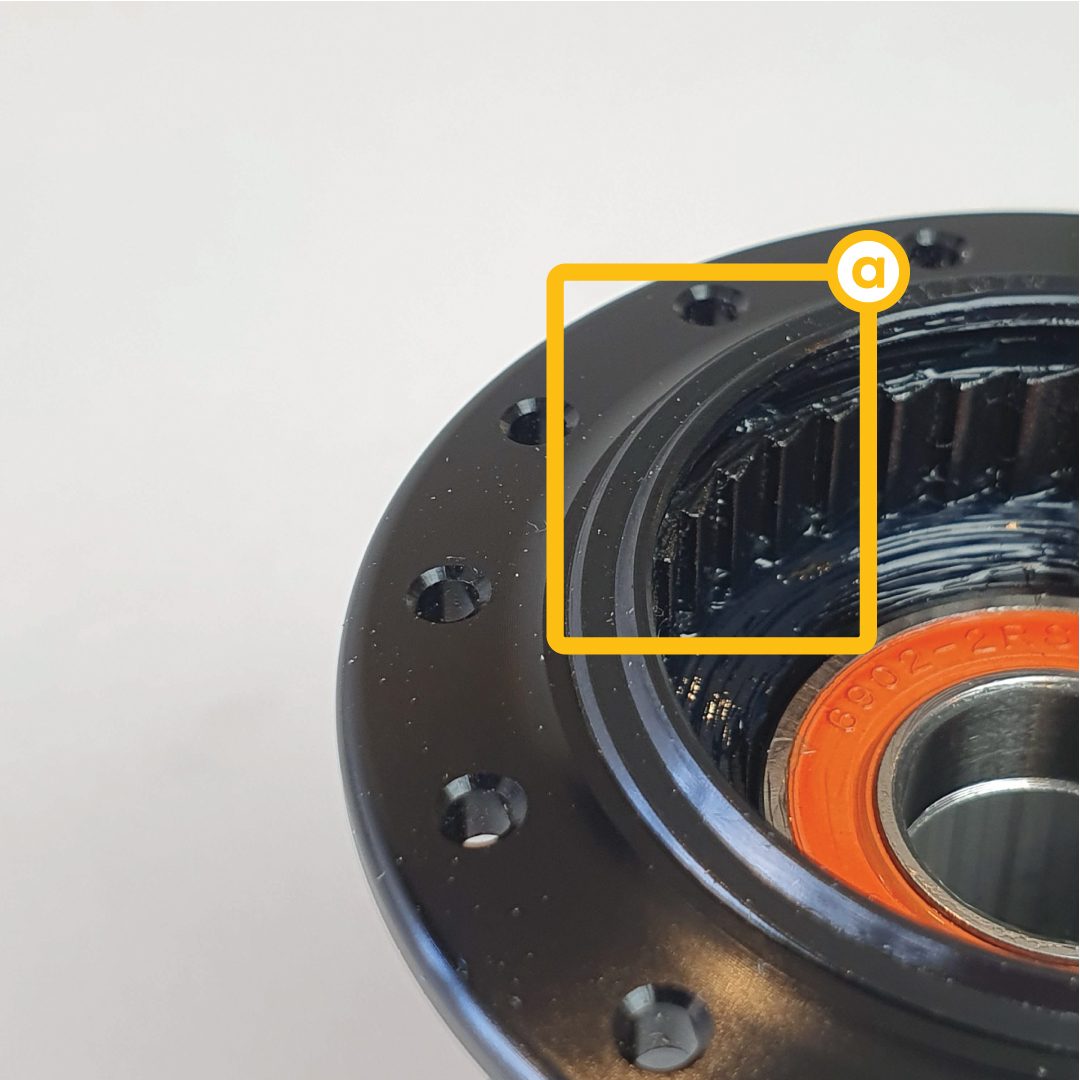
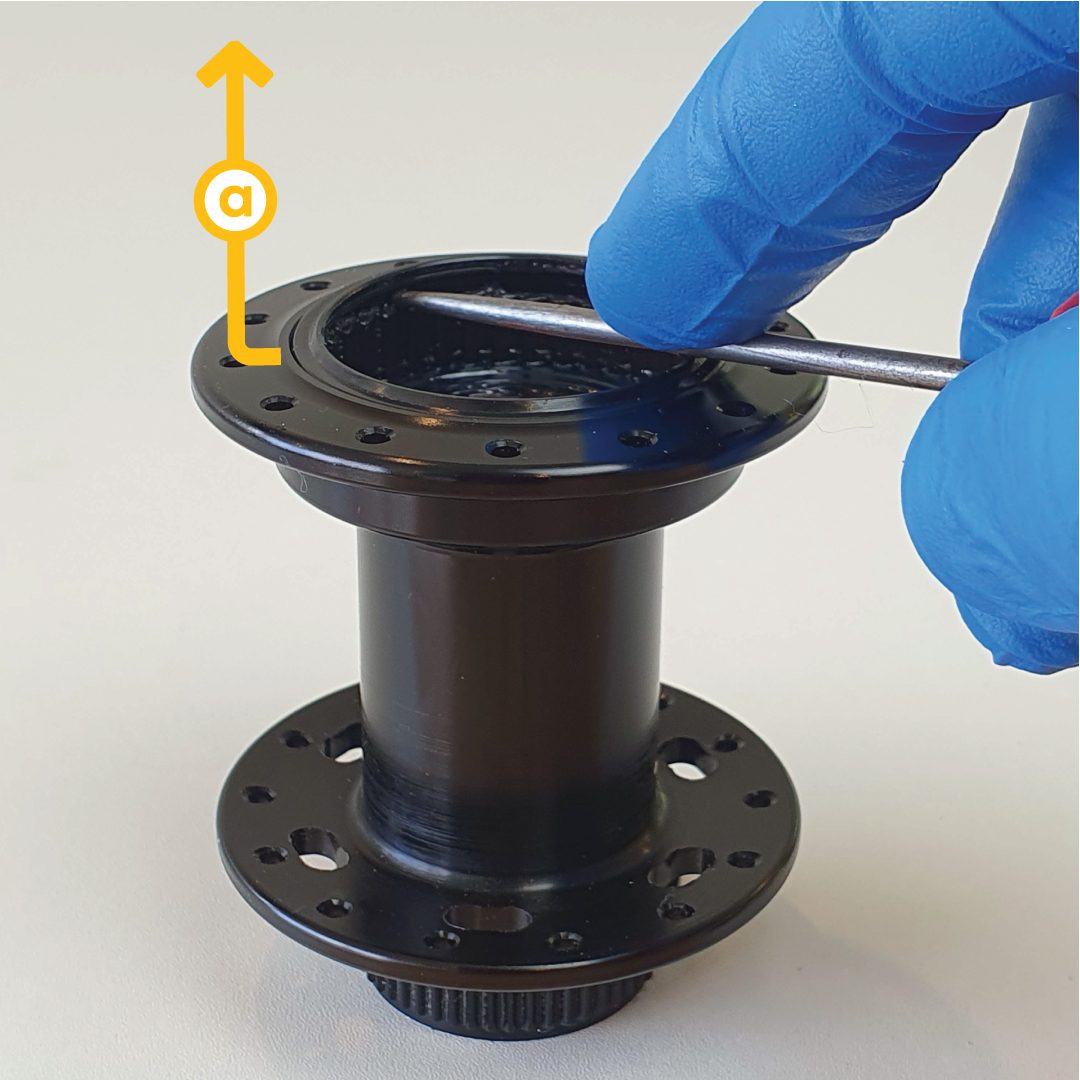
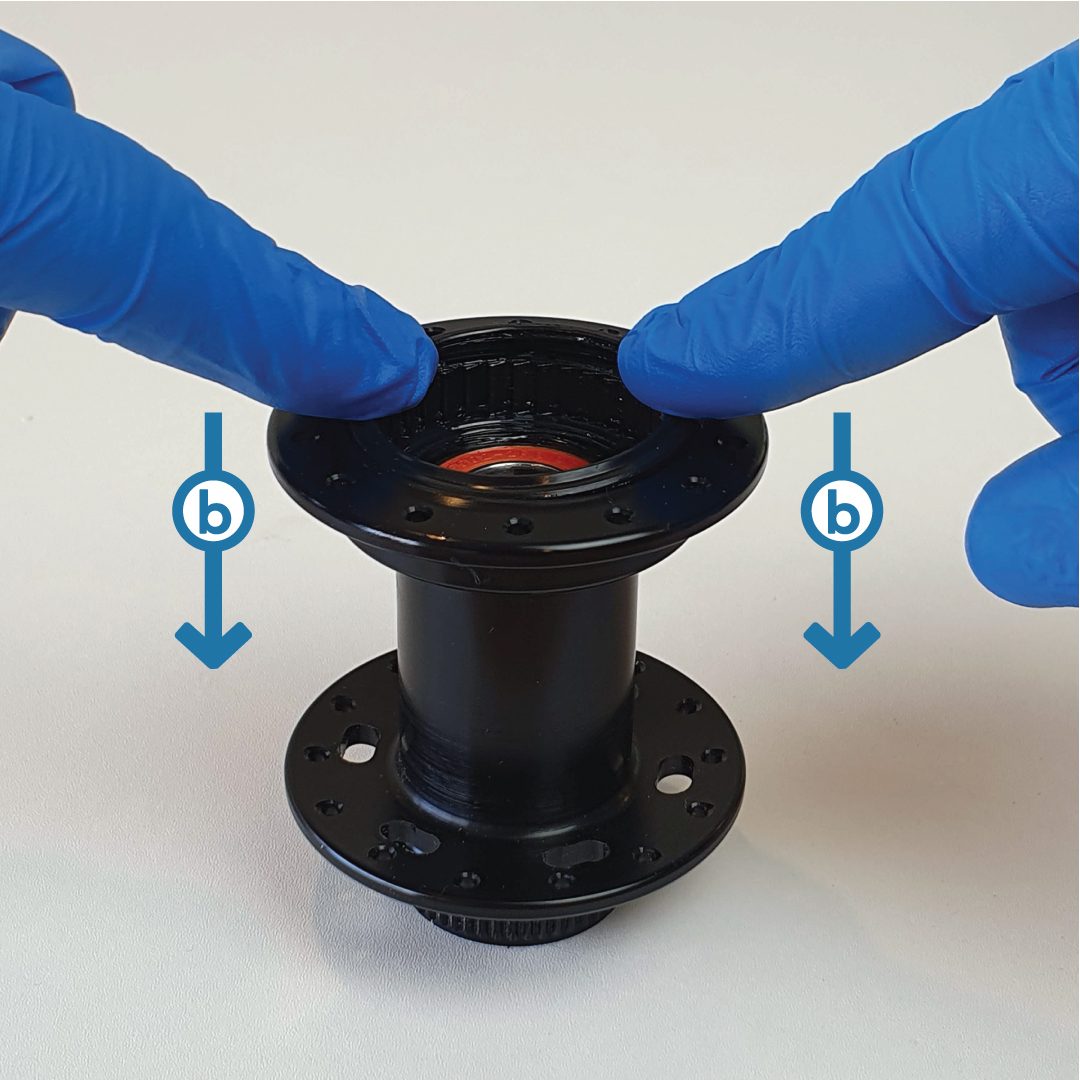
Use a pick or small screwdriver to carefully pry the weather shield off. Press the new weather shield into place with your fingers - do not use any tools, as you risk damaging the hub and weather shield.
Step 11: Inspecting the Freehub Clearance Spacer
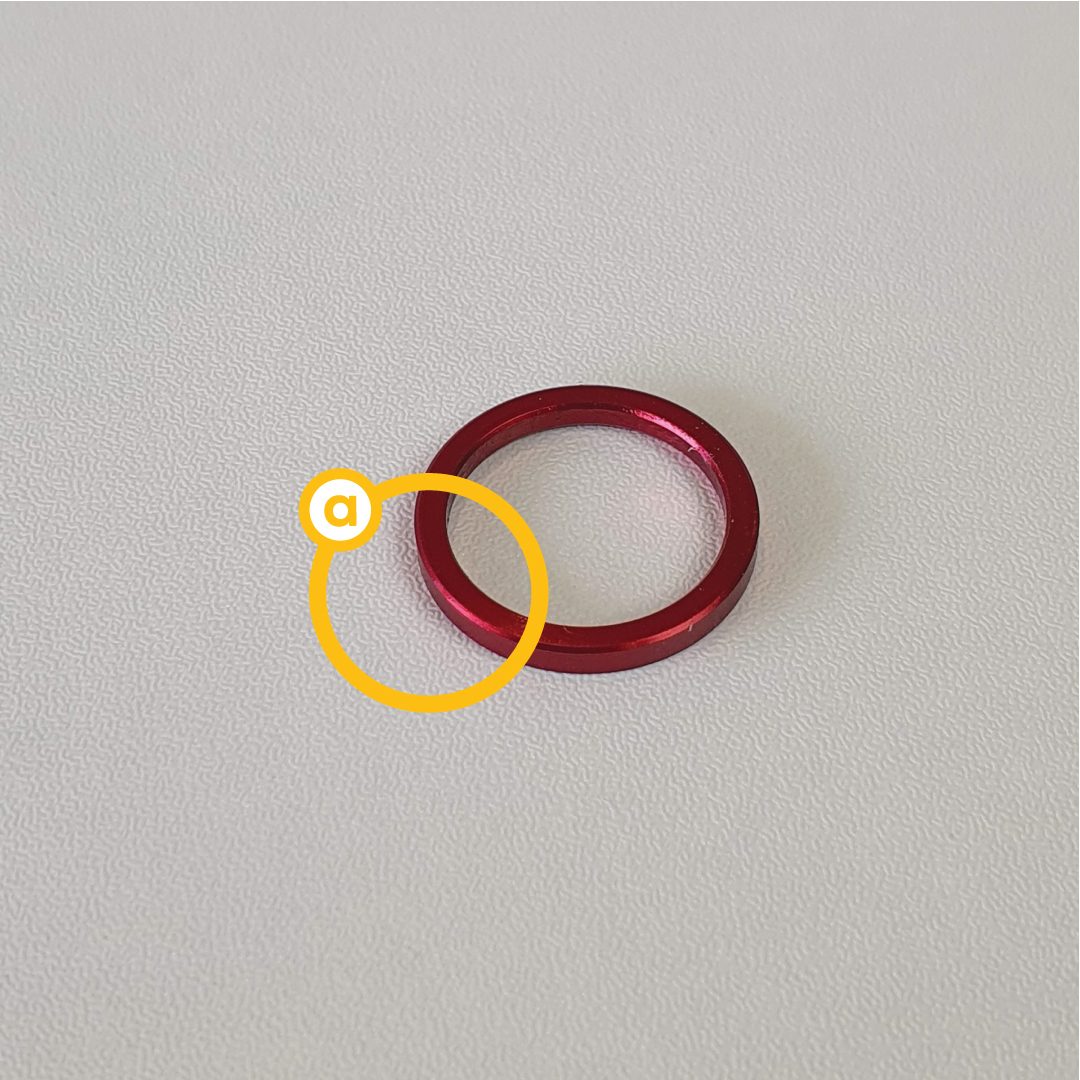
Inspect for notches or damage. Damage here is generally caused by a broken axle or an exploded bearing and doesn't need replacing unless gouged or damaged. Freehub clearance spacers might be either red or silver.
Step 12: Removing and Inspecting the Non-Driveside Seal (Center Lock hubs)
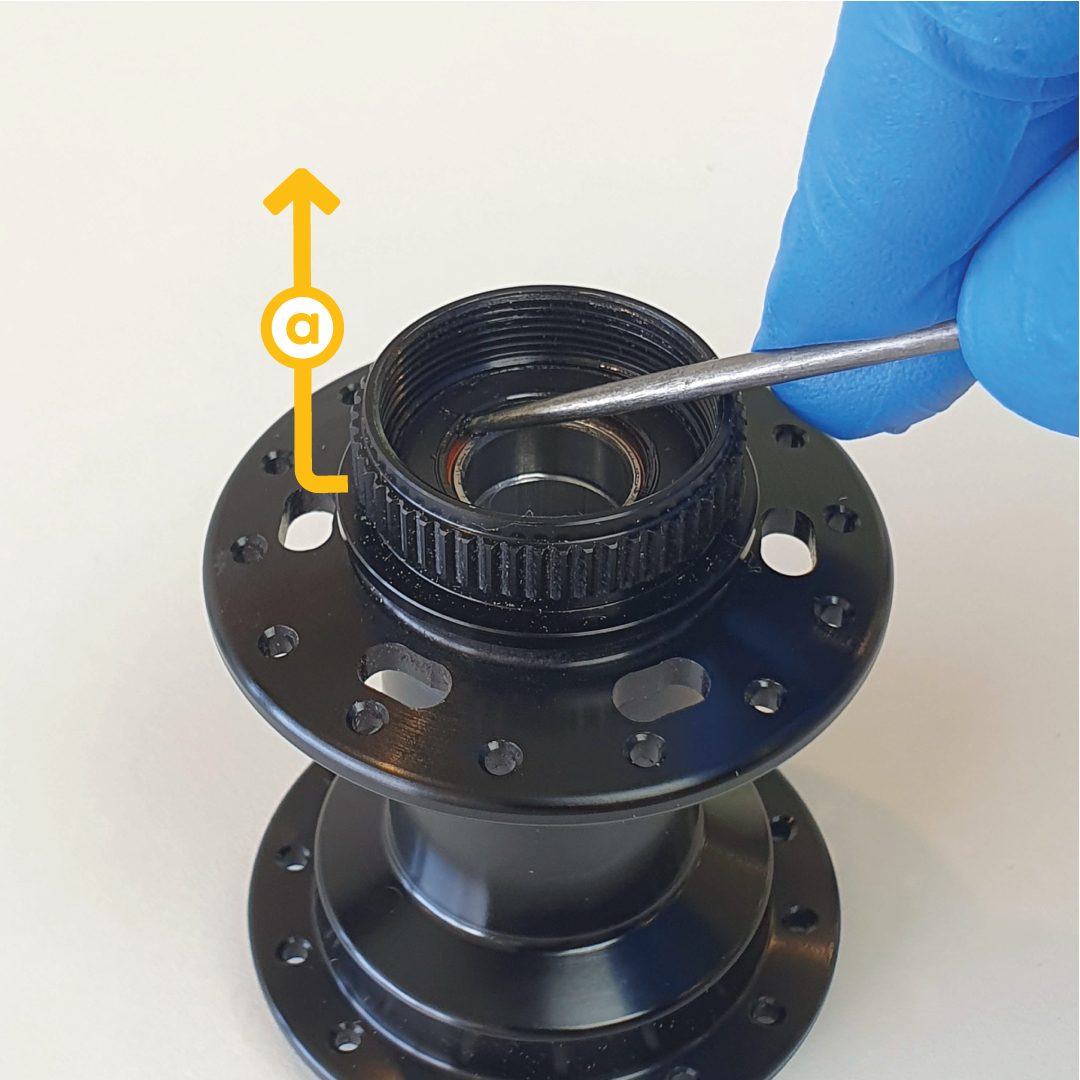
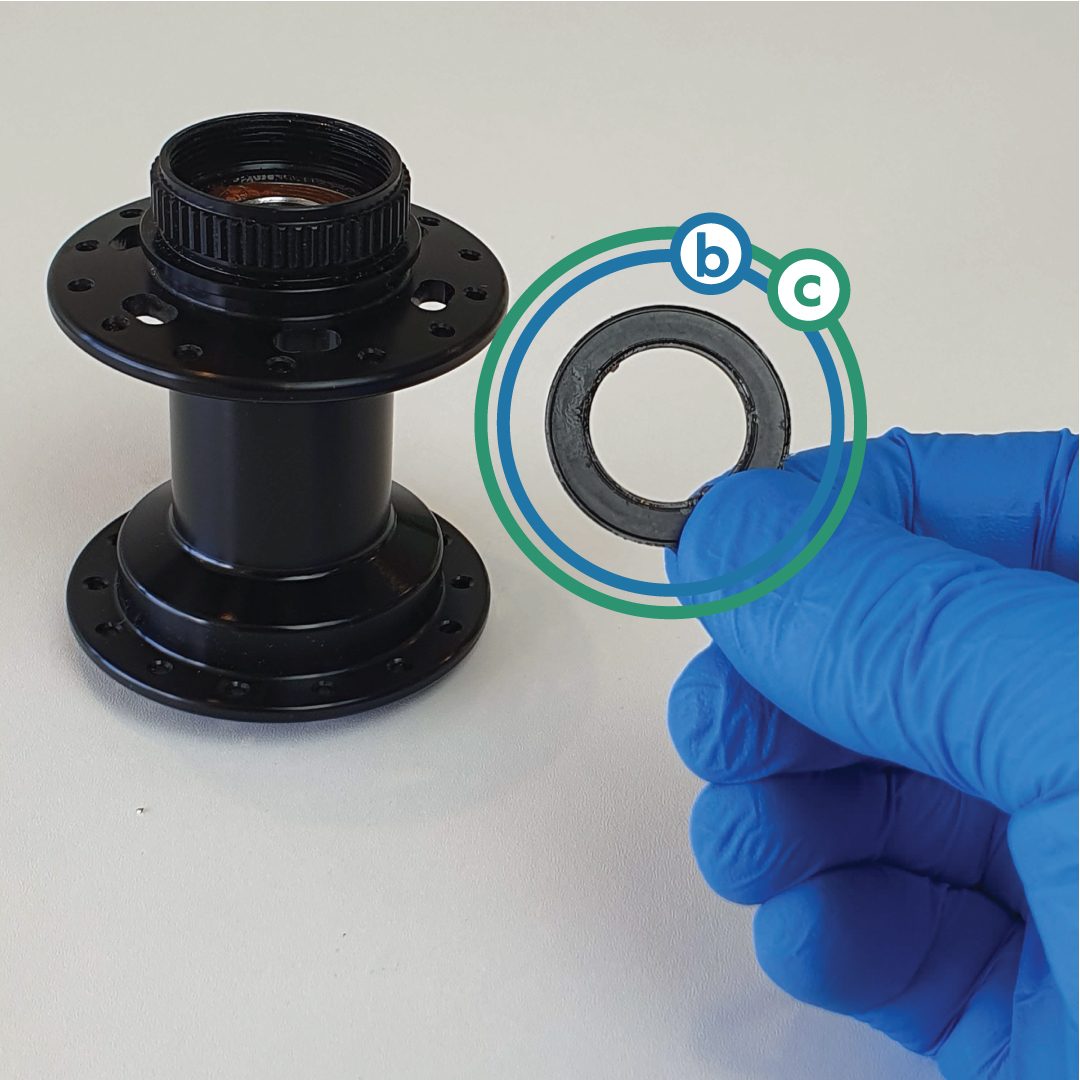
Remove the non-driveside (NDS) seal by carefully prying under it with a pick - it should pop off without damage. Inspect for bending or damage, and inspect the inside for wear (rough rather than smooth - this seal lasts well and generally doesn't need replacing).
Step 13: Cleaning the Non-Driveside of the Hub
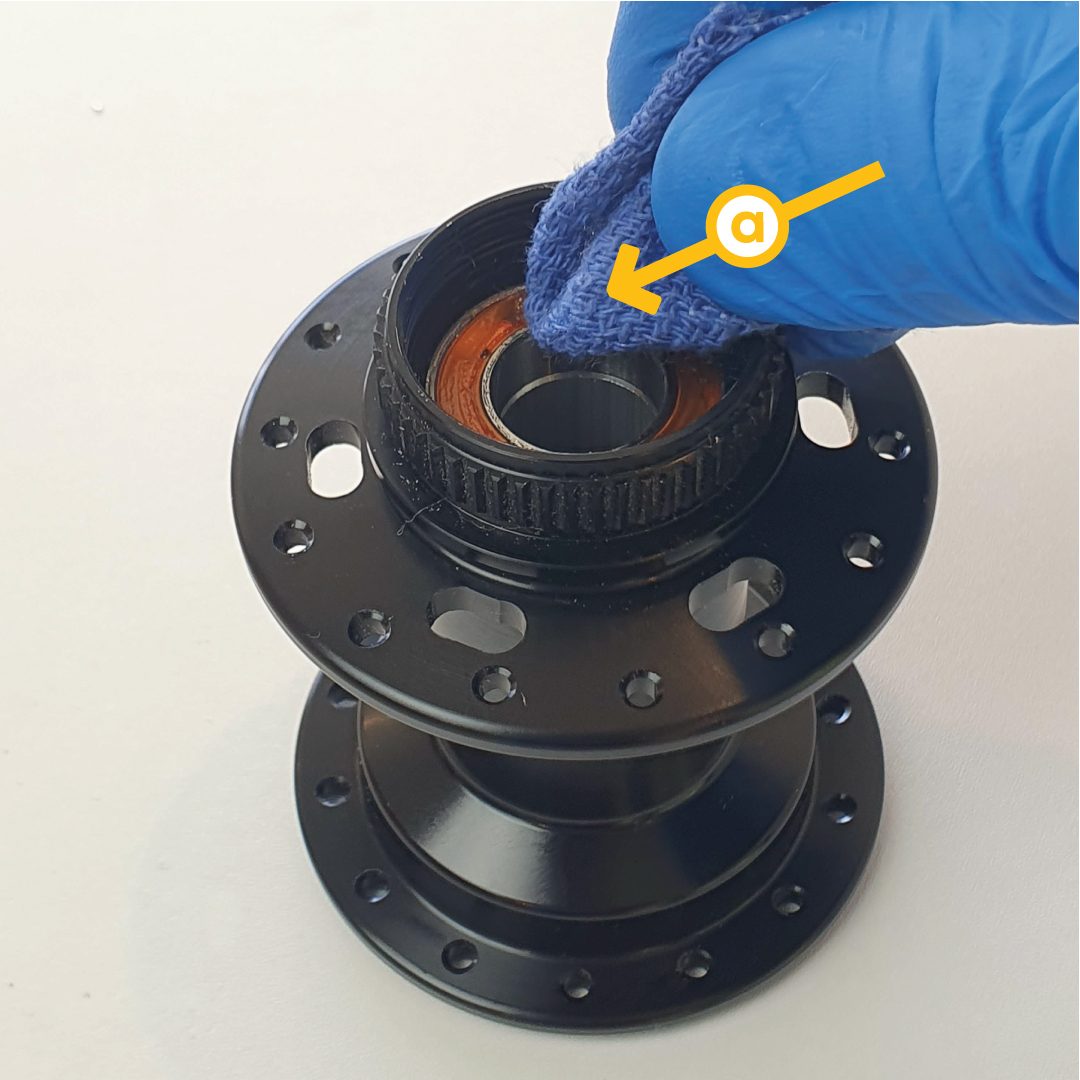
Clean out any grime from the non-driveside of the hub with a clean rag.
Step 14: Reinstalling the Dust Seal (Center Lock hubs)
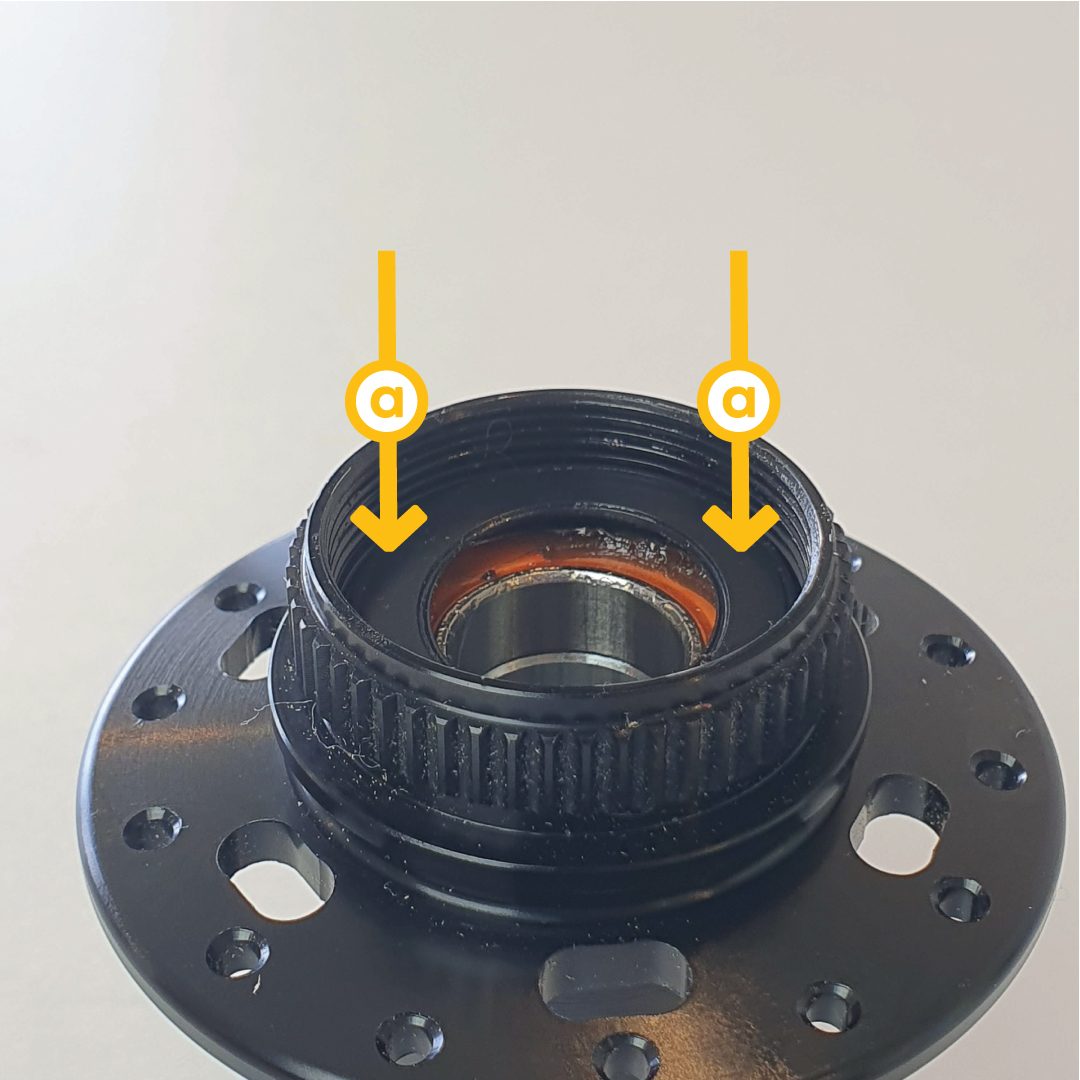
Reinstall the dust seal by carefully pressing it into place with your fingers. Do not use any tools, as you can damage the seal.
Step 15: Cleaning and Inspecting the Axle
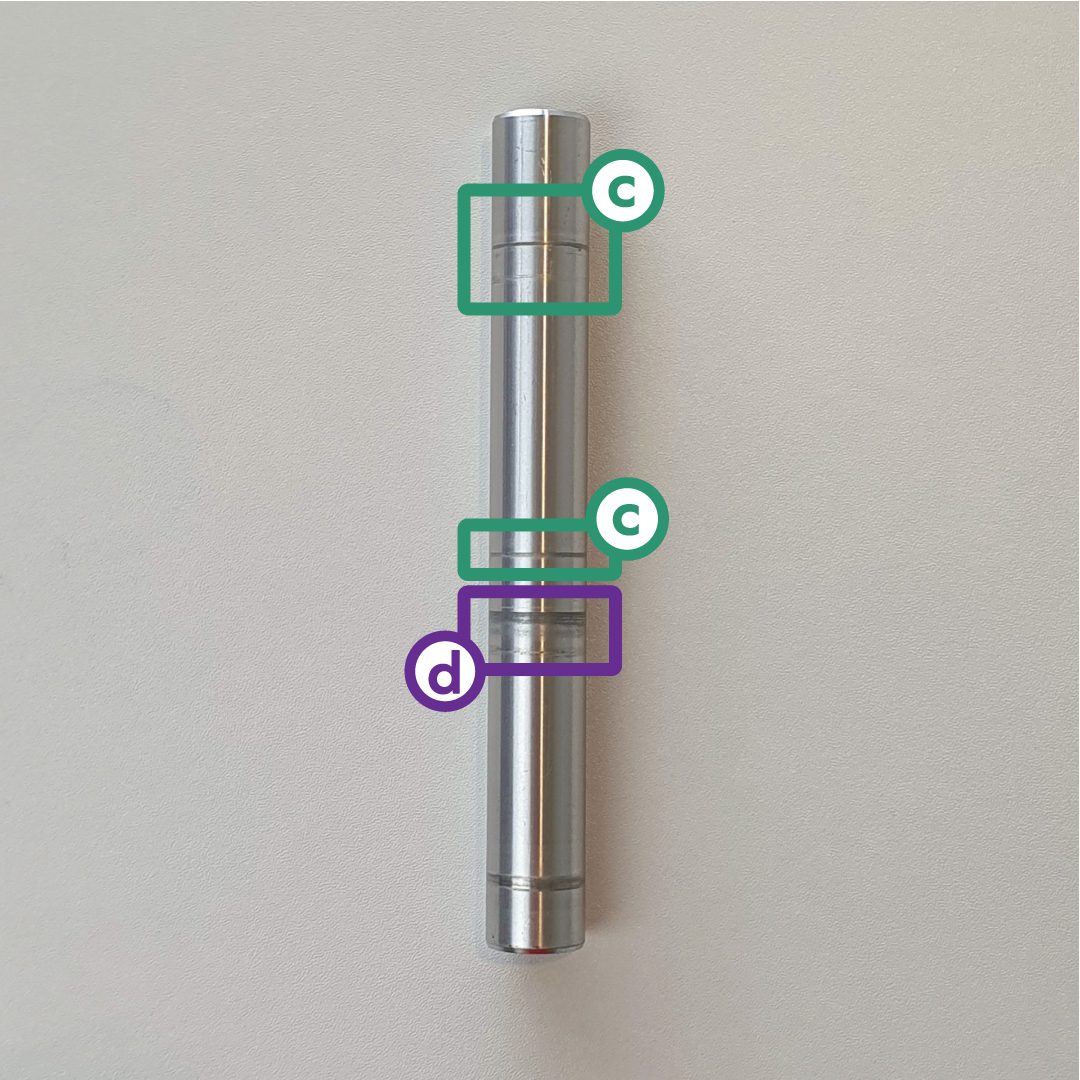
Remove the other endcap from the axle by pulling apart with your hands, then wipe the axle with a clean rag. Inspect for cracks or damage - worn bearings will leave witness marks on the axle. A slightly polished section is acceptable, but a small groove from contact with the freehub clearance spacer means the axle should be replaced.
Step 16: Greasing the Freehub Body
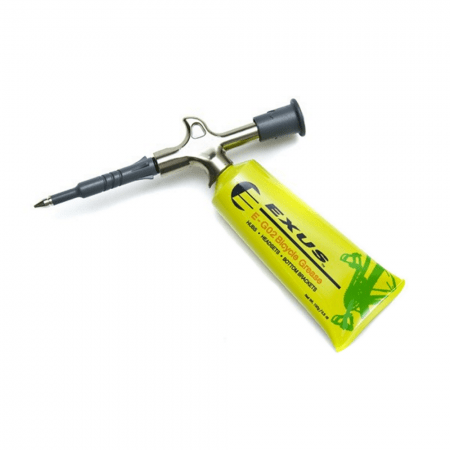
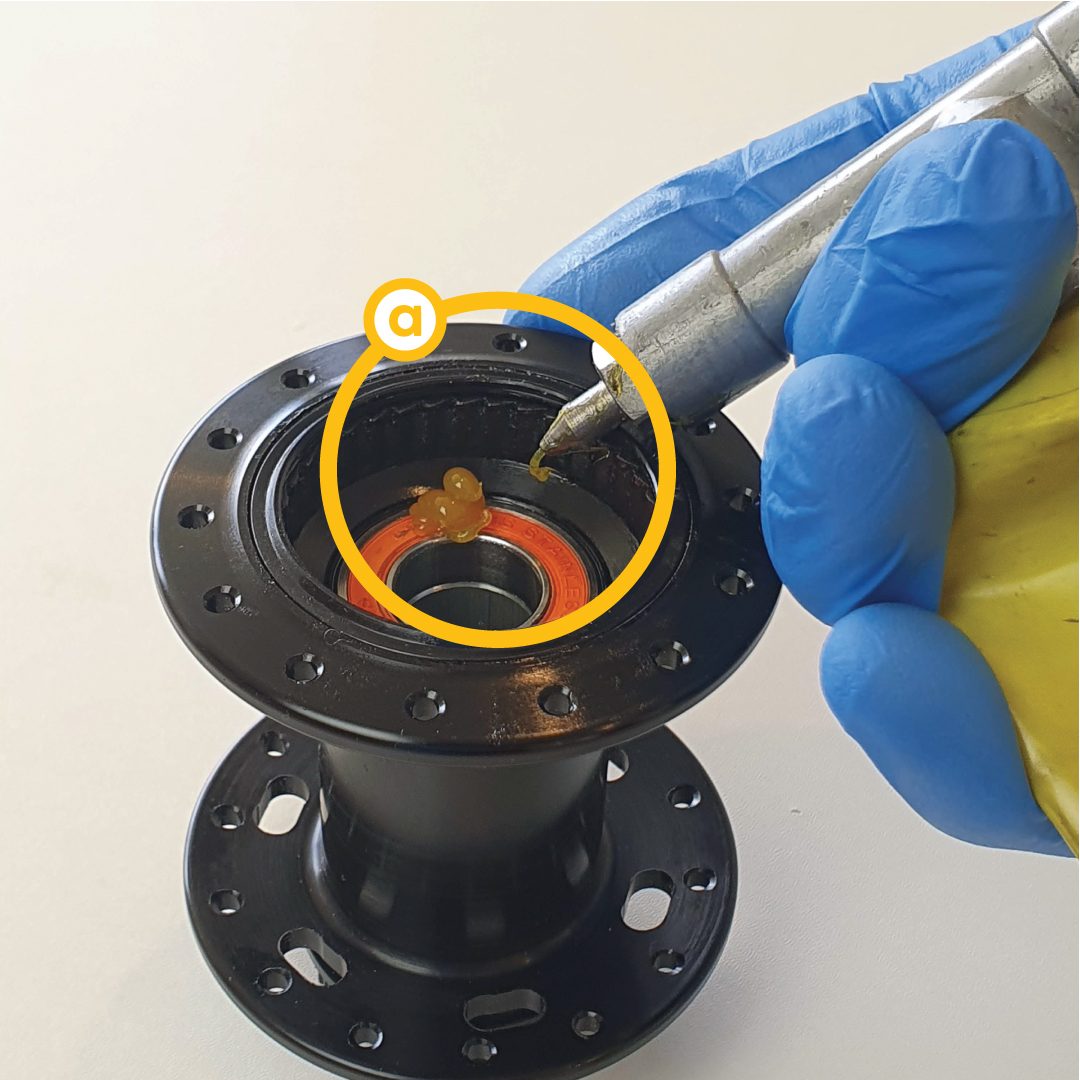
The Dial hub isn't picky about grease - choose a good quality medium-weight grease or thick chain oil. Too thick and it can freeze in winter; too thin and you'll need to service more frequently. Apply a dollop of grease into the hub shell.
Step 17: Assembling the Freehub Body and Axle
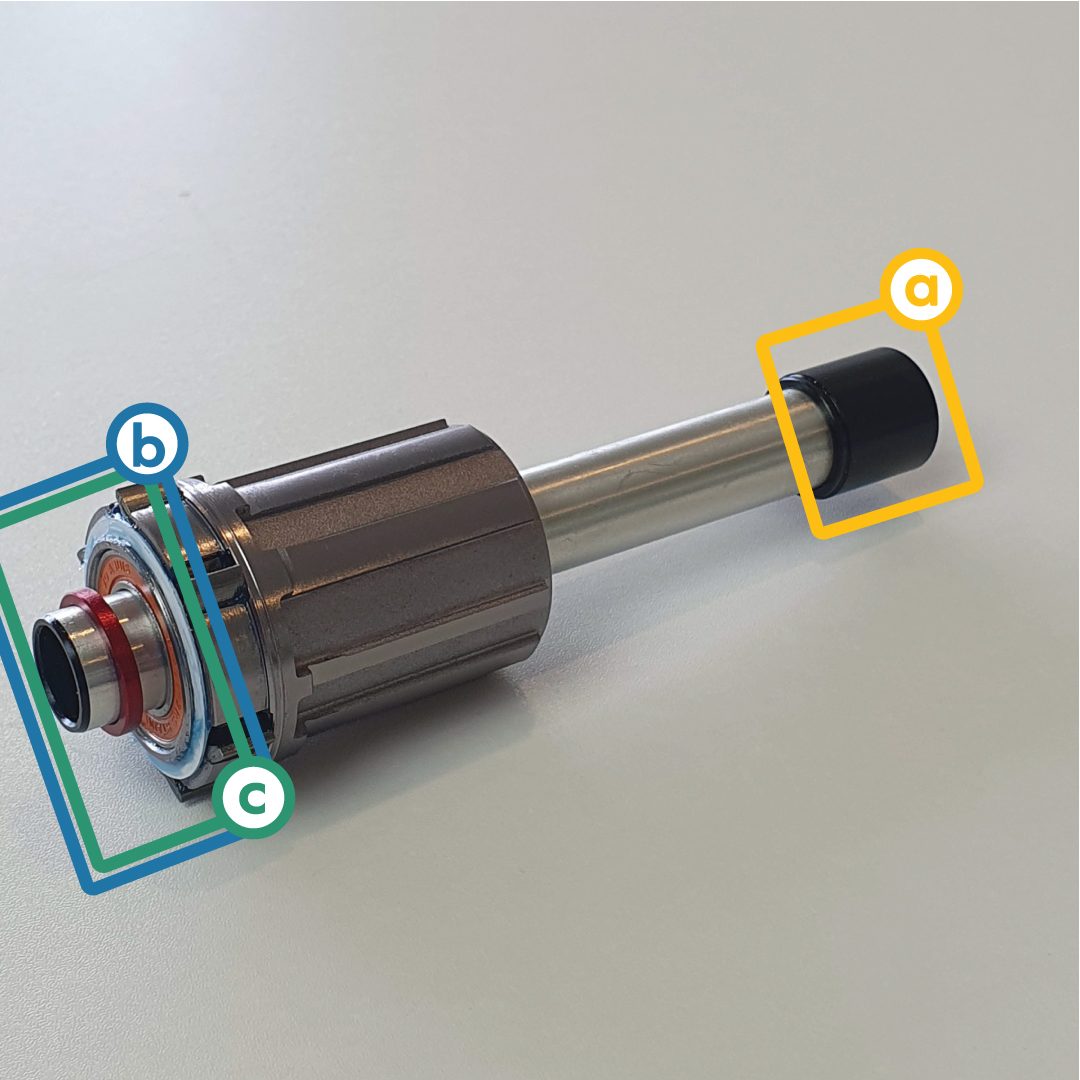
The shorter of your two endcaps is the driveside one - press this onto the axle. Press the axle through the freehub body so about 10mm protrudes, then press the freehub body clearance spacer onto the axle.
Step 18: Installing the Freehub Body into the Hub Shell
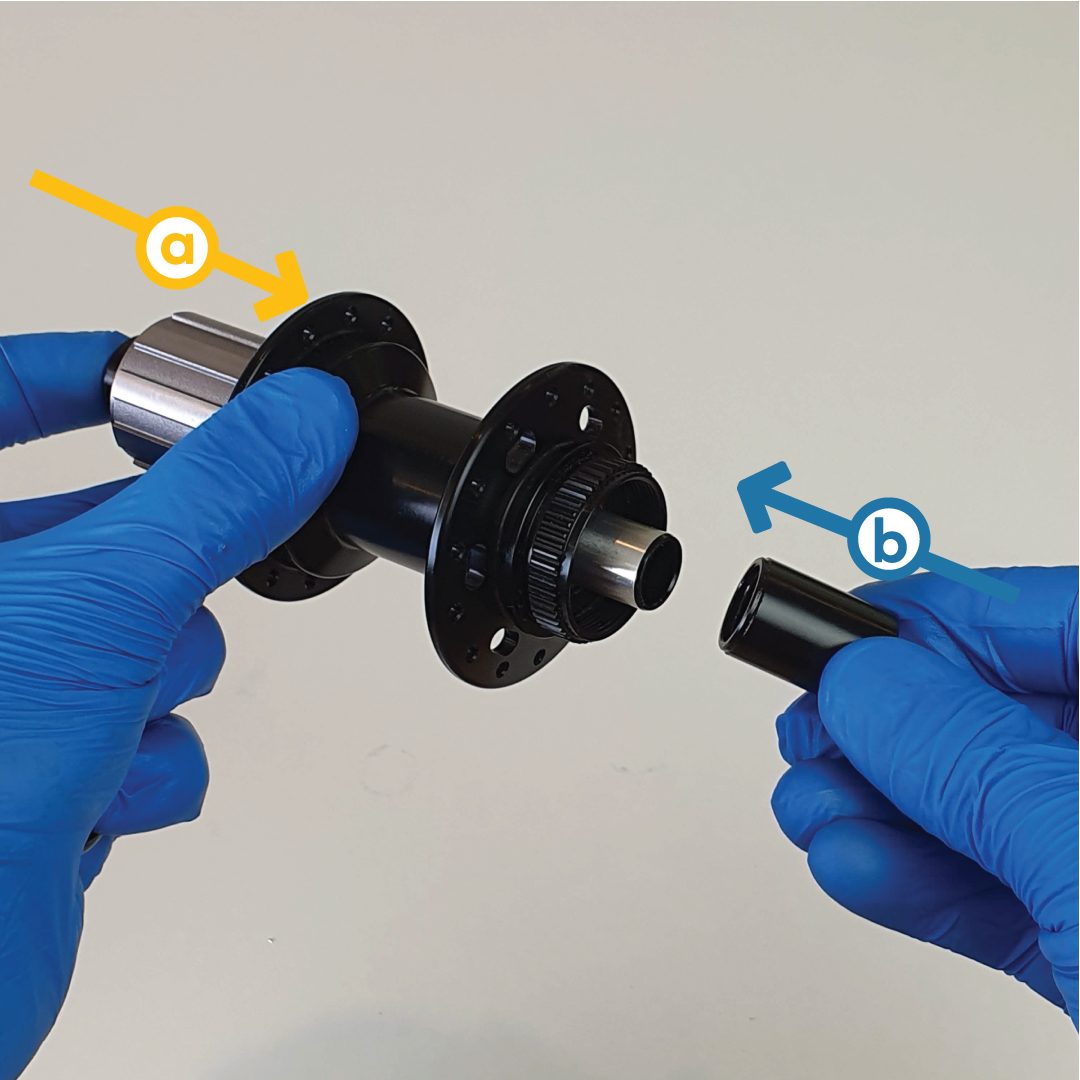
Press the freehub body into the hub shell while rotating it counter-clockwise. The 10mm protruding end of the axle will slip inside the bearing and help everything line up.
Step 19: Installing the Non-Driveside Endcap
Press the axle all the way through the hub, then press the non-driveside endcap onto the axle.
Step 20: Testing the Hub
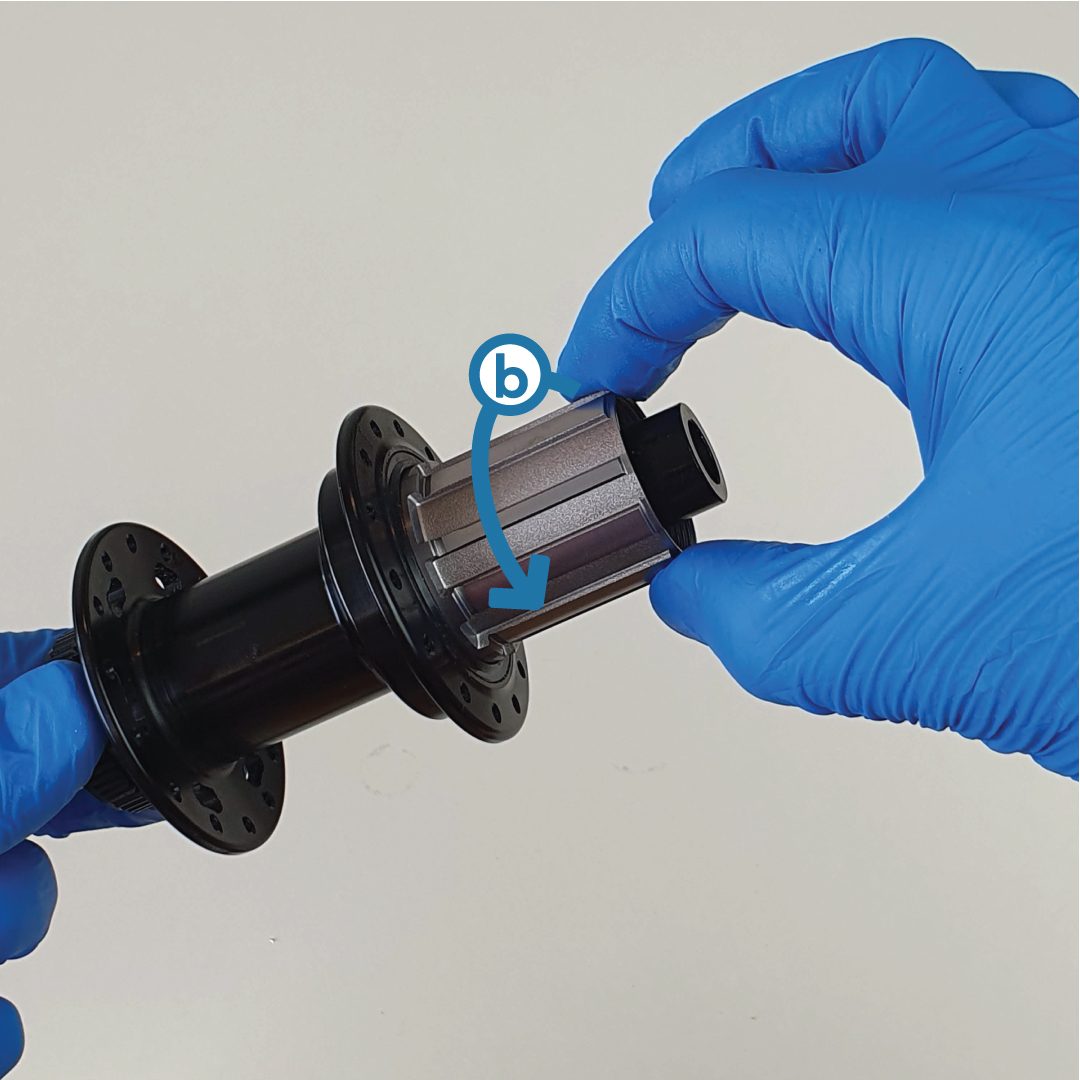
Your Dial hub should now be serviced and ready to go. Check your work: rotate the axle inside the hub (it should rotate smoothly) and rotate the freehub body (it should rotate smoothly and make a crisp click sound).
Step 21: Cleaning Your Bench
The most important step: check there are no left-over parts, wipe your tools clean, and wipe your bench clean.